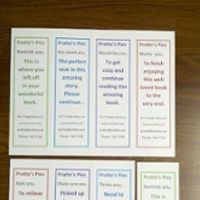
How To Print Your Own Bookmarks With A Border
by Chelsea Camper | Last Updated December 30, 2015We recently had a question pop up about adding borders around each of the bookmarks on a sheet of blank bookmarks. To brush up on the basics of printing your own bookmarks, check out this post: How To Design and Print Your Own Bookmarks. You’ll see in that How To that we have added borders around those bookmarks using the first method we list below.
Sometimes it can be hard making borders around all of the bookmarks because they can get a little off and make everything look wrong. If you really want borders know that it can sometimes take some time to get everything pixel perfect!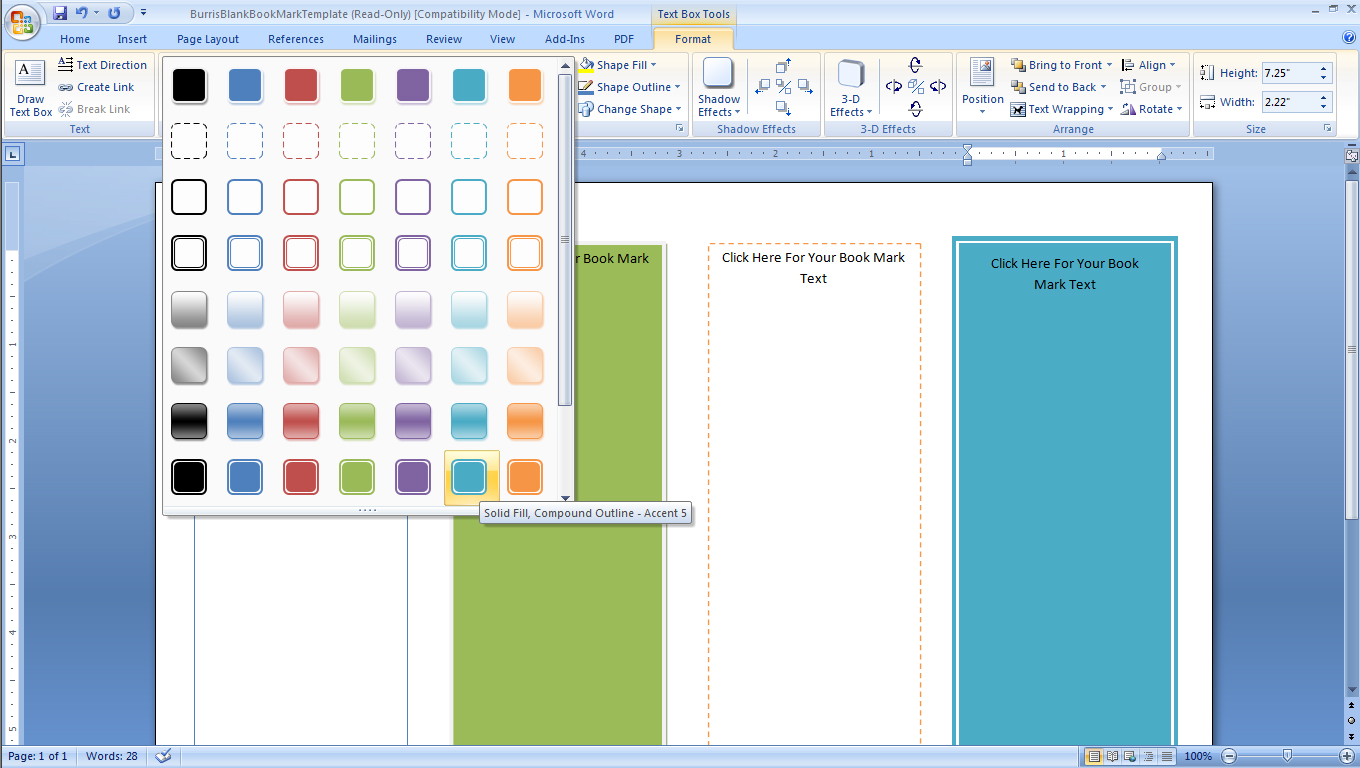
You can test that your borders are in the right place by printing your design out on a plain sheet of paper and then compare it to your sheet of bookmarks by overlaying the sheets and then holding them up to a light. This way you don’t waste your valuable bookmark sheets.
There are several ways of creating a border for your bookmarks
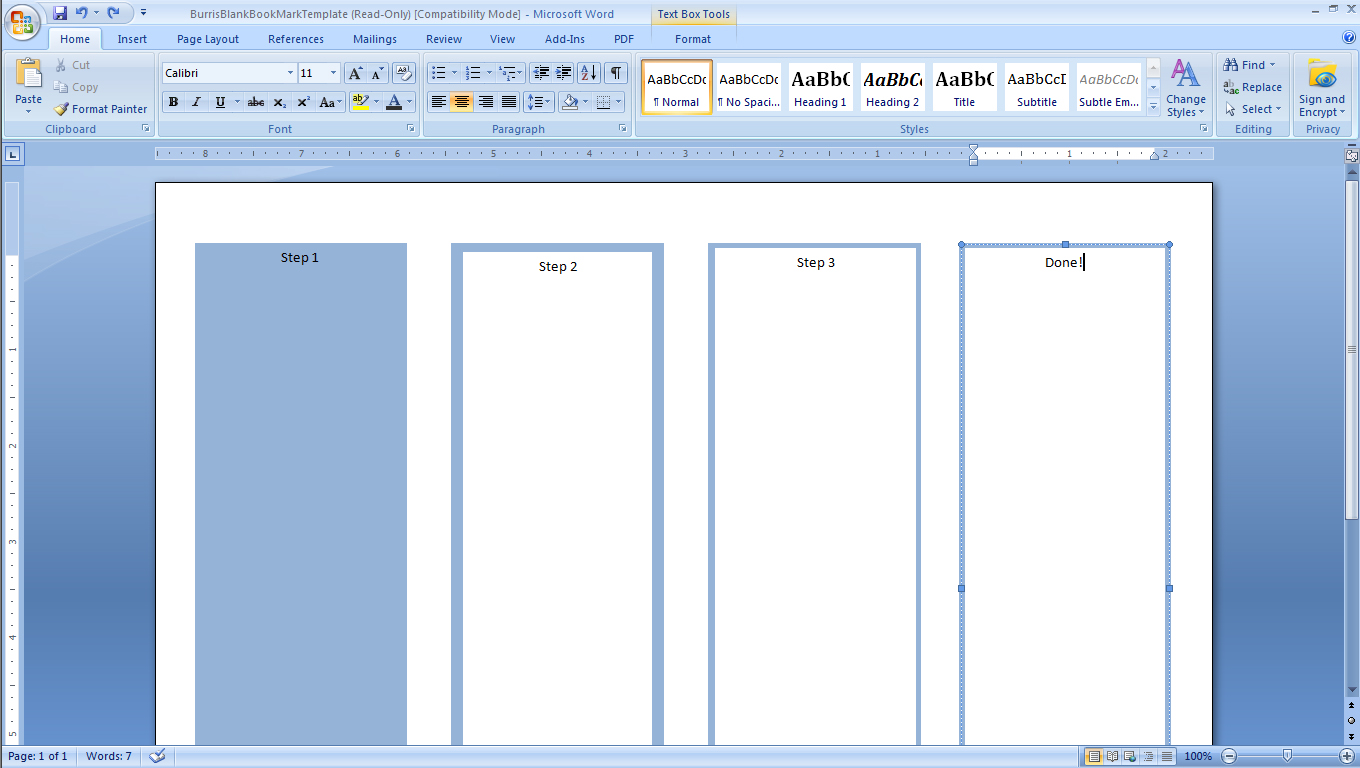
Using A Text Box Border
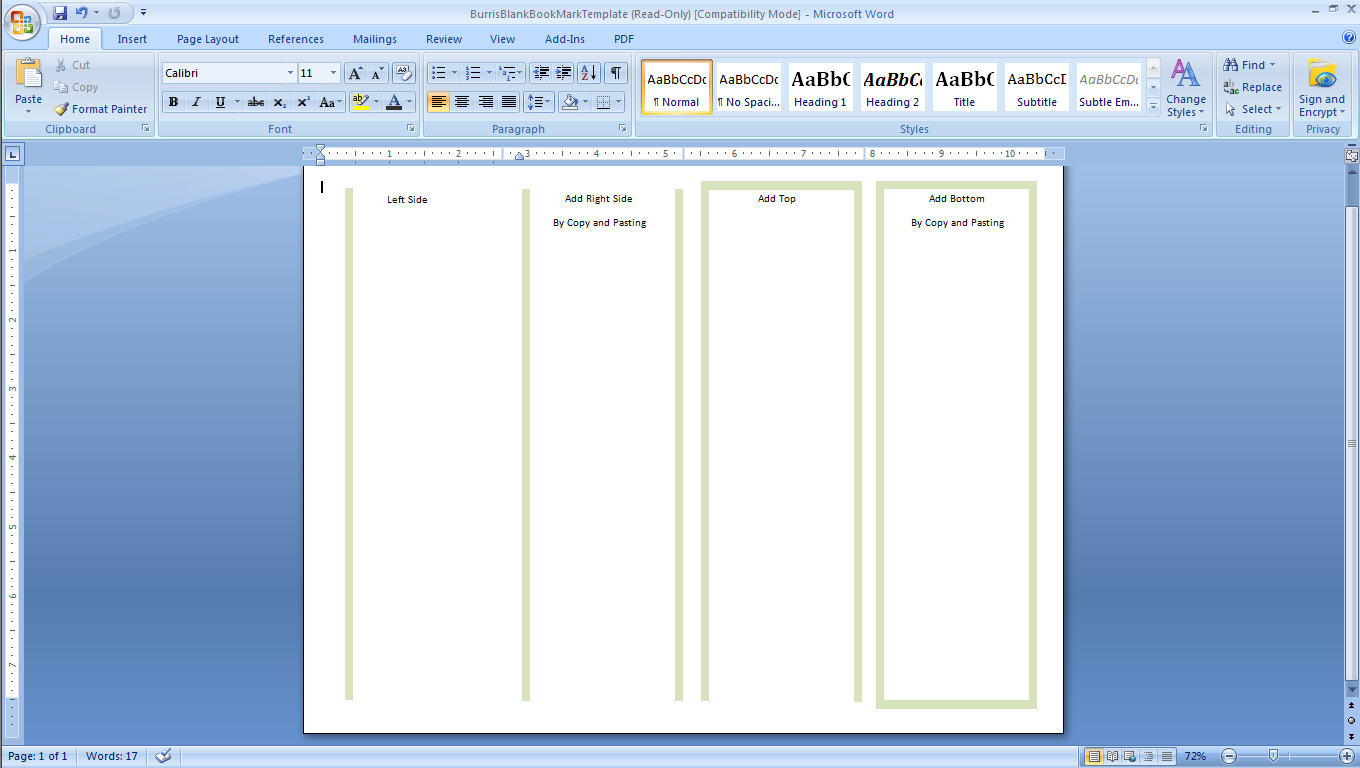
In many versions of Microsoft Word you can add a border to the text box either by using text box Styles or changing the “Shape Outline”. When you download the blank bookmark template with four bookmarks per sheet and open it up in Microsoft Word, you’ll see there are text boxes that have already been created for you. Simply add a “Shape Outline” or a text box “Style.”

Using Color Filled Shapes
If your version of Microsoft Word doesn’t have the function to add a border to a text box, you can create a rectangular shape filled with the color of the border you want.
- Size a rectangular box filled with your border color to fit your bookmarks
- Then add a white shape on top of the colored shape.
- Size it so that it just small enough to leave some of the colored rectangle visible
Use Thin Color Filled Shapes
You can also use thin rectangles that are the width of the border size you want to crease a pseudo-border. Simply make four of these thin rectangles to create the border around your bookmarks.
Is there another way you create borders for your bookmarks?