Door Hanger Design Strategies
by Claire Lawson | Last Updated April 22, 2025Door hangers are a great tool for marketers who segment their customers by location. They’re versatile, tangible ads that give personal touches to a campaign. However, when it comes to designing them, it can be hard to know where to start. So, here’s a quick guide to door hanger design: wheres, hows, and whys.
- When your design is finished, you’ll need to make it physical. Burris Computer Forms offers a wide variety of blank door hangers that can be easily printed at-home or work. Our door hangers are an affordable choice for any business owner, simplifying print jobs on-demand. They come in 3-, 2-, and 6-per-page variations to save paper, ink, and time. Find them at our door hangers main page.
Door Hanger Design Software and Tools
There are many software programs to choose from when designing a door hanger. For the purpose of this quick guide, we’ll cover three popular choices: Microsoft Word, Canva, and Adobe Acrobat, along with some pros and cons of each.
Microsoft Word
Microsoft Word is one of the most popular design software on the planet. This can be an easy option for most non-designers, who both: 1) already have access to the software, and; 2) are familiar with its layout and navigation.
If you haven’t already read our blog post about how to use Microsoft Word in door hanger design, here’s the shortened version, in steps:
- First, download a door hanger template. Our page has templates corresponding to the variety of print-your-own door hangers we offer.
- Then open the template in Microsoft Word. To ensure the proportions match, show the grid lines using “Layout.”
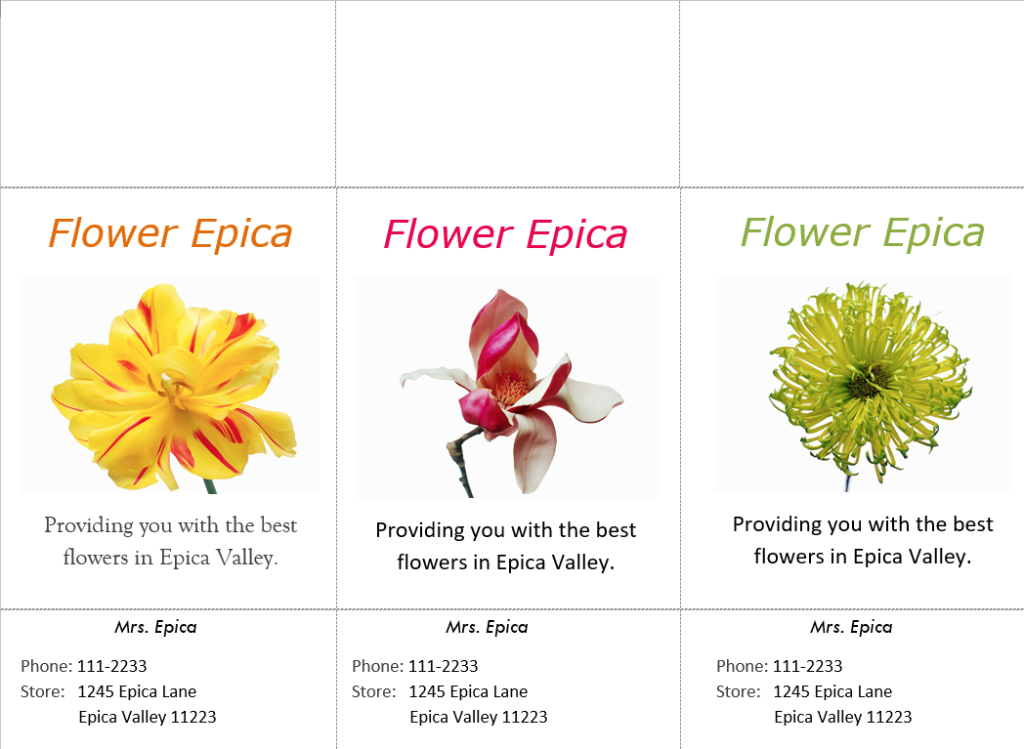
- Next, insert your copy in text boxes. Leave the top portions blank to account for the circular cut-out. You can use your own images or assets you have to add interest to the design.
- Lastly, print! It’s generally OK if margins fall outside the page, but if the test sheet loses some of your design, move your content further into the center.
Microsoft Word Pros and Cons:
Microsoft word is highly available, prints well, and has free resources all over the internet. Its long-time popularity has made it a go-to option for years, and users are often familiar with its layout.
When it comes to design capabilities, other programs may rival it. But, once you own it, you can use your creativity to achieve spectacular results.
Canva
For those unfamiliar with this recently-popular choice, Canva is a free or paid online tool with a simple design process that provides pro-worthy results.
While it requires an account to use, their interface is both powerful and user-friendly. Canva allows users to pick from a large variety of free or paid images, icons, patterns, and shapes, easily click and drag design elements across their (many, many) templates, or even upload their own photos or logos.
How-to
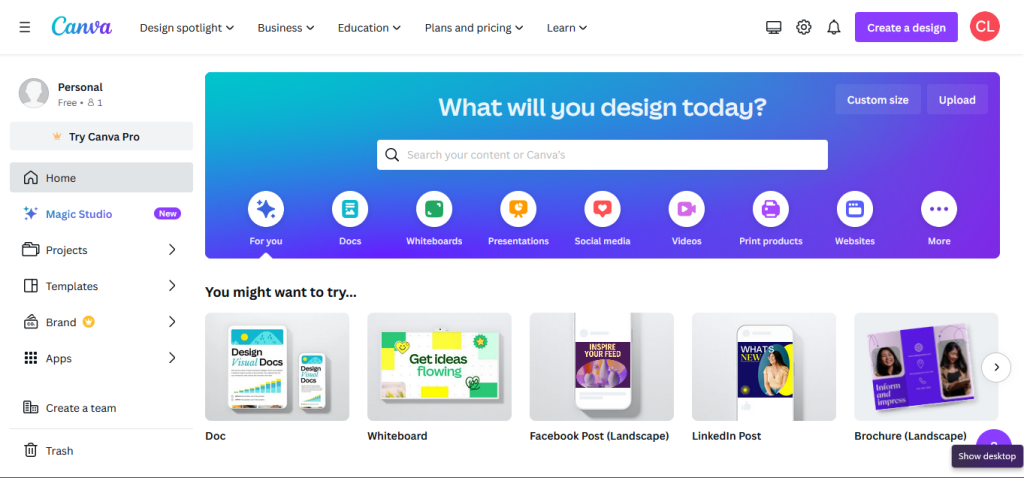
Creating a door hanger in Canva is a quick process once you’re used to the software. A quick search in the search bar on the home page leads to a list of door hanger templates. From there, it’s important to choose one that matches the dimensions of your paper.
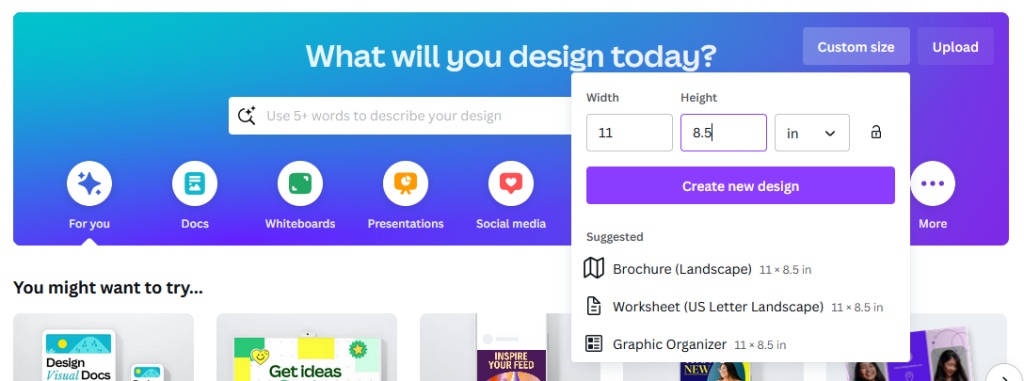
You can also search by dimensions using the “Custom size” button. Sizes can be in pixels, inches, millimeters, or centimeters.
If you’re using Burris’s 3-per-page door hangers, the “Trifold Brochure” templates fit our page dimensions. The “infographic,” or “door hanger” templates match our 2-per-page hangers.
After making your selection, the world of designing opens to you.
For a first timer, the plethora of options may seem daunting, but it only takes a little time to get the software under your fingers. Take some time to look through the options and experiment with how they look on your project. Don’t forget to include room for the hole punch at the top!
Printing From Canva
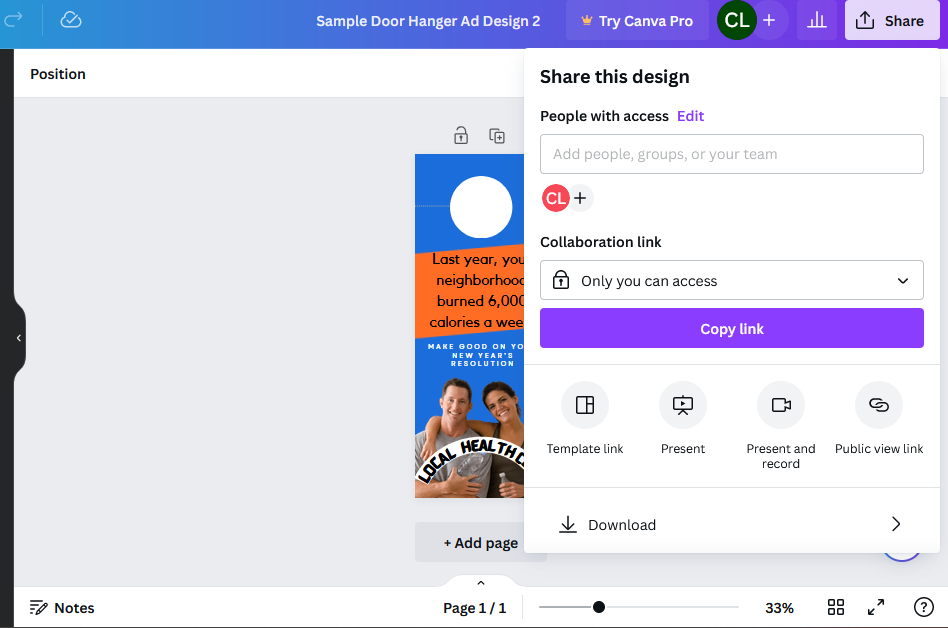
When it comes time to print, click the share button on the top right of the design area.
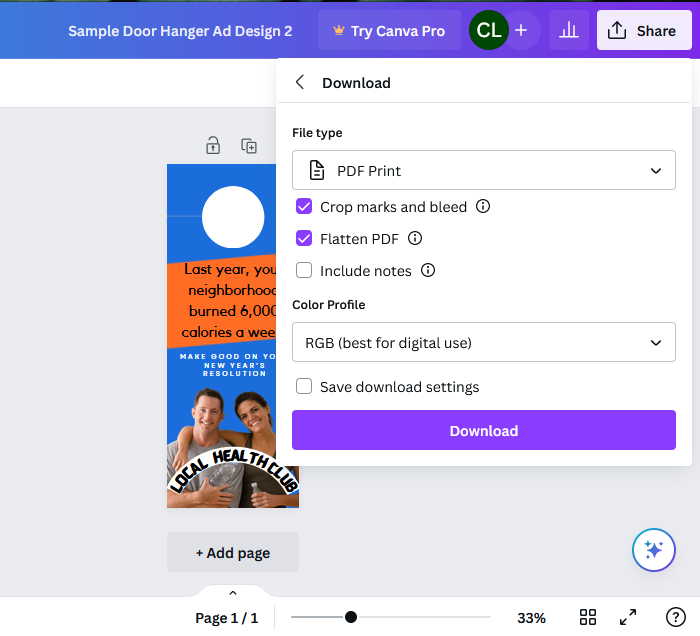
Choose “Download,” then change the file type to “PDF Print.” Next, check the “Flatten PDF” option to optimize printing. It’s important to note that CMYK coloring is locked behind a paywall, but RGB is available for download. When you’re ready, hit download. You can then print the PDF from your computer.
Canva Pros and Cons:
Canva is relatively simple to use, and has a variety of design capabilities suitable for beginners or pros. Much of the site, however, is locked behind paywalls.
Adobe
Adobe’s Photoshop and Illustrator work for the purposes of designing door hangers. Their subscription prices can be prohibitive, but the functionality, as a favorite of the design industry, is top-of-class. If your company is acquainted with and already pays for Adobe suite, it’s a top option for most design projects.
Make sure to set the dimensions correctly. To make your own template, you can use guides. Set the parameters for the margins on the door hanger. Then, add the door hanger hole with the ellipse tool. You can align the hole on the page using more guides, to put it at the top center portion. For a tutorial that goes into greater detail, check out this article by Tutsplus.
Adobe Photoshop Pros and Cons:
Photoshop is a high level program with a high-level price, and a high required skill set. While certain things can be learned with online articles and tutorials, it’s best used by seasoned professionals who have spent time working with the software. If you’re used to the software, it will output just what you put in, a best choice for those familiar with it.
Door Hanger Design Principles
Once you’ve decided on a software, it’s time to design. Don’t let each software’s presets or blank canvases box your design in; keeping design principles in mind will help the door hangers to turn out looking attractive and professional.
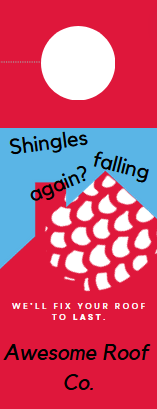
There are many ways to design a door hanger, so whether you’d like to use high resolution pictures, abstract, colorful shapes, or to focus on the text, here are some strategies to stand out on a door.
- Simplicity – Keep any text simple, and get straight to the point. If possible, sum up your benefits in one line. You need to draw customers into your pitch. Any other, more complicated information should go on the back.
Additionally, if the design is too complex, you risk losing customers’ attention. That means to avoid crowding too many pictures into your design. Keep it to a few colors or designs, and don’t feature multiple patterns.
- Bold Colors – Using bold colors is a classic way to catch potential customers’ attention. The contrast is proven to draw eyes to your ad.
- People – Customers are drawn to images of people, as they feel a more personal connection.
- Surprise – As with most ads, aim to surprise and delight. Whether that’s stand-out pictures, new facts, a fun tone, or a joke, do something unexpected.
- Call to action – This is the most important piece! As with any ad material, the most important thing you should do is include a call to action. Make an offer somewhere, prominently.
Once you’ve designed the front, put any more substance on the back. Who you are, contact info, and another call to action. Infographics and QR codes work well here.
Conclusion
Door Hangers, a useful and favored marketing tool for real estate agents, political groups, local businesses, home services, and many other organizations, can seem daunting to get into. But designing them can be fun and easy for those with all levels of graphic design experience. Burris Computer Forms makes designing and printing your own door hangers accessible with our print-your-own door hanger sheets and free, downloadable templates. Check out our product page or contact us at burris@pcforms.com or (800) 982-3674 to buy, get samples, or for more information.
