How To Create Your Own Door Hangers
by Chelsea Camper | Last Updated July 19, 2019In this post we’re going to go step by step through creating your own door hanger (complete with screenshots!). For this example we’re going to be creating Mother’s Day reminder door hangers for a local flower shop. This flower shop will be called “Flower Epica.” Feel free to use your own business name and graphics in place of Flower Epica’s name and graphics.
Click on each image to enlarge it in a new window.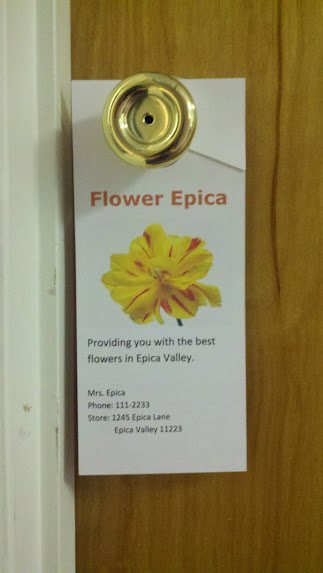
Step 1: Download your template.
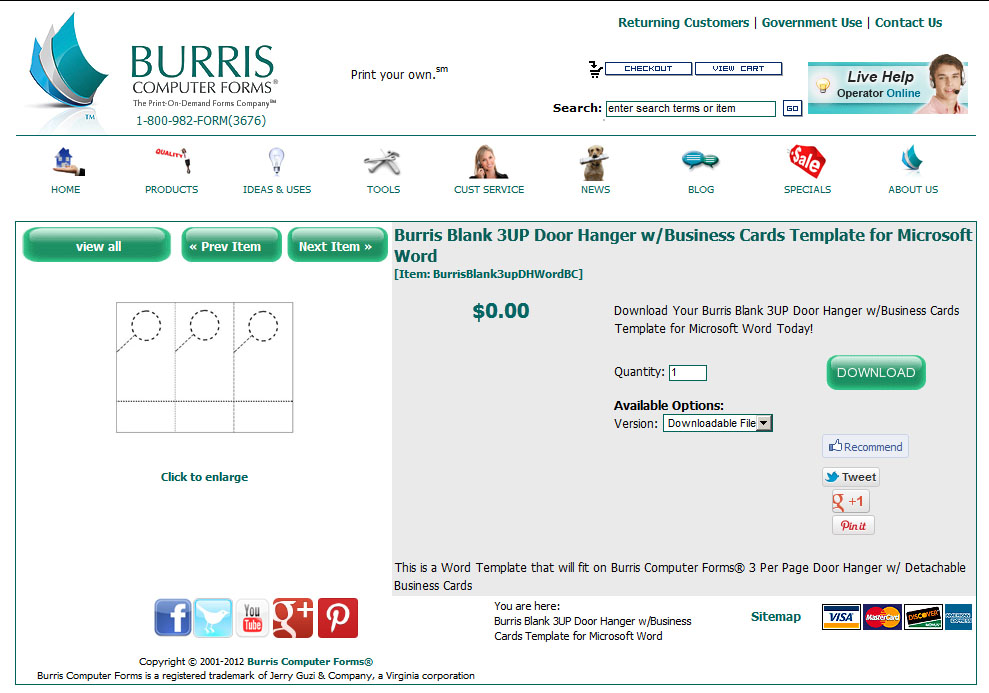
First things first, we need a template. Since most people have Microsoft Word we’ll use a door hanger template designed for Microsoft Word. More specifically we’ll be using the BurrisBlank3upDHWordBC (3up door hanger with detachable business card) template.
List of Microsoft Word Door Hanger Templates.
3UP Door Hanger with Detachable Business Card Template.
Select your template and click the large green Download button on the right.
Step 2: Open your template in Microsoft Word.
The next step is to open your template in Microsoft Word (yours may have automatically opened).
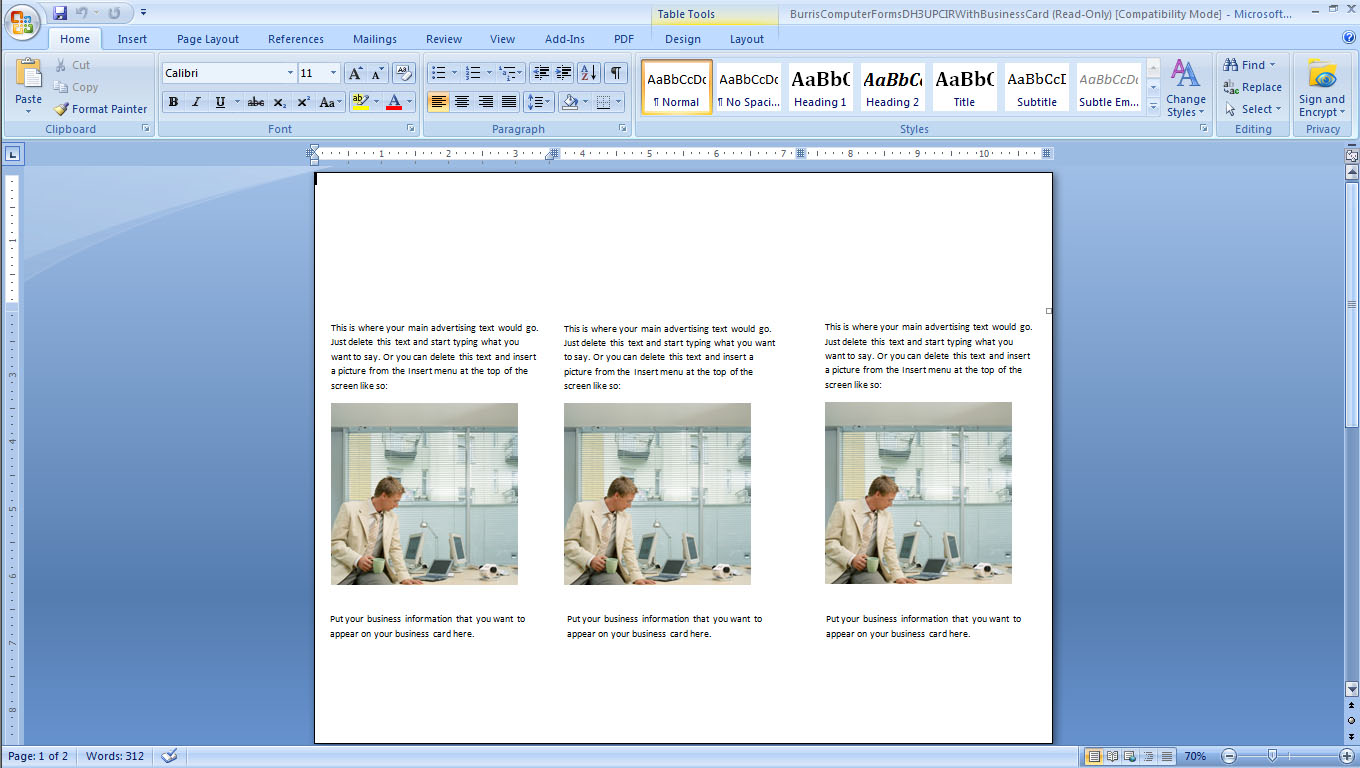
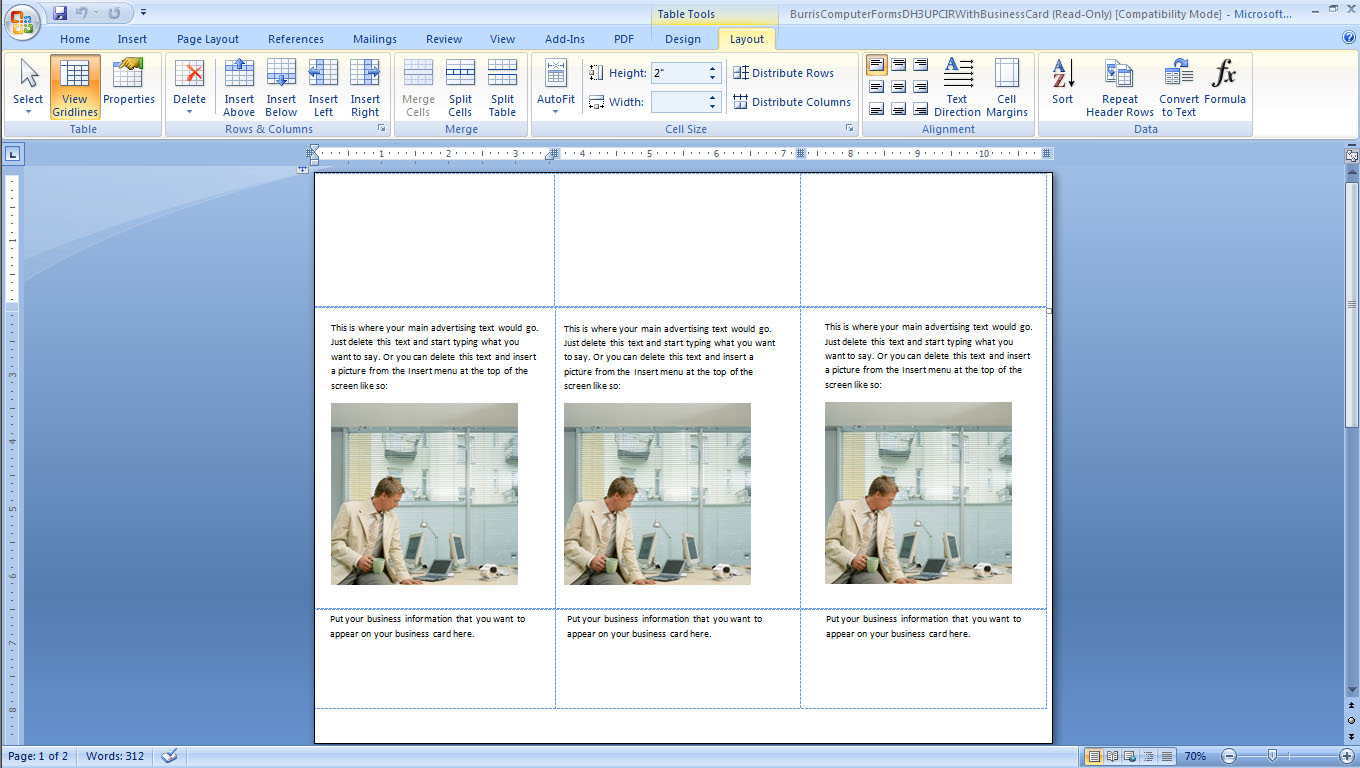
If your template looks blank or you don’t see the blue lines on the BurrisBlank3upDHWordBC template, you will need to turn on the gridline view.
At the top of your Microsoft Word screen, go to Layout. Then click on “View Gridlines” at the far left to reveal the blue lines.
Step 3: Insert your copy.
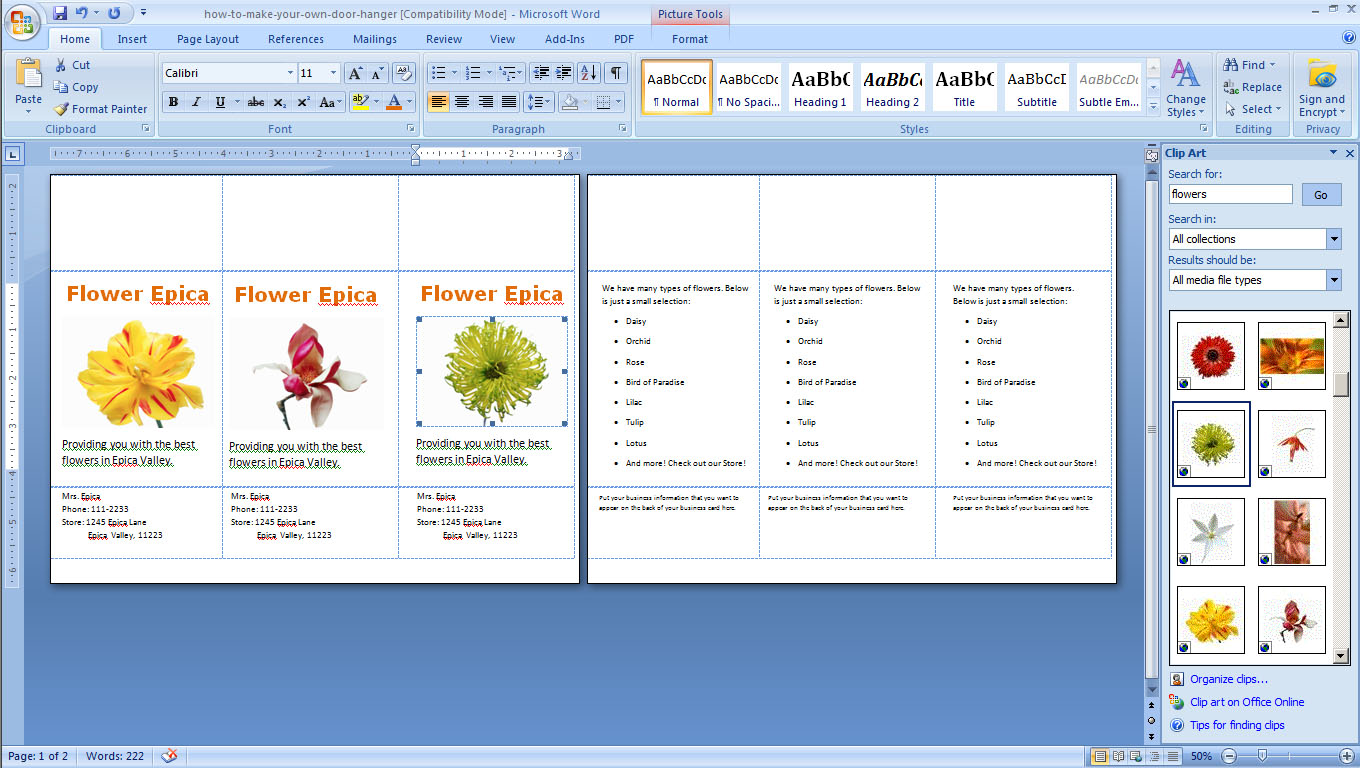
In this step you can let your imagination run free! Within the guidelines of each door hanger you can add your advertising copy. You can do different designs on each door hanger or you can copy-paste your design to all of the blank door hangers.
*Remember to leave the top section blank as this will be the part of the door hanger that has a circle or X in it to attach it to the door knob.*
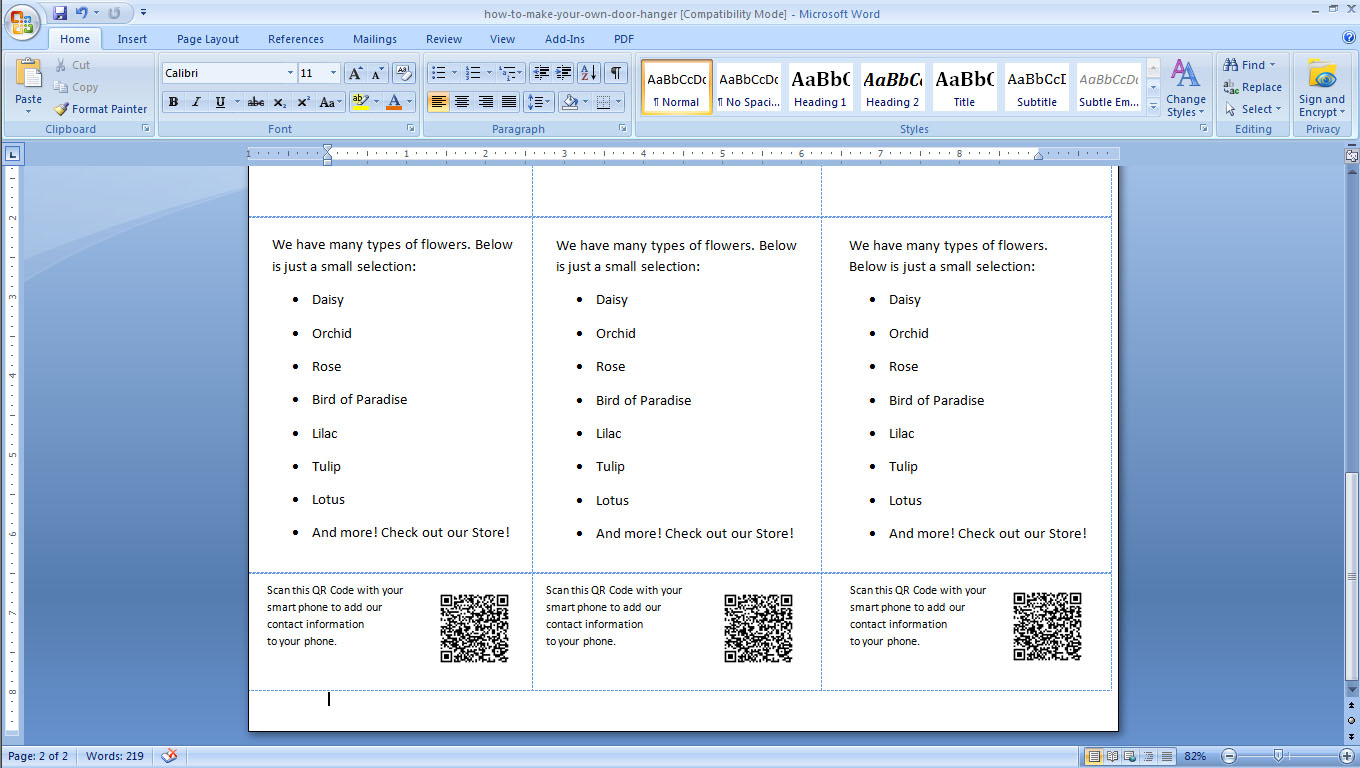
You can use custom images that you have taken or use Microsoft Word’s clip art. In this example we’ll use some clip art. (The second page of our document is the back of the door hangers.)
Step 4: Create and insert a QR Code.
This is an optional step, but one that I highly suggest. And for this step I also suggest using the QR Code Creator by BarCode.com. It is clean, quick, and to the point!
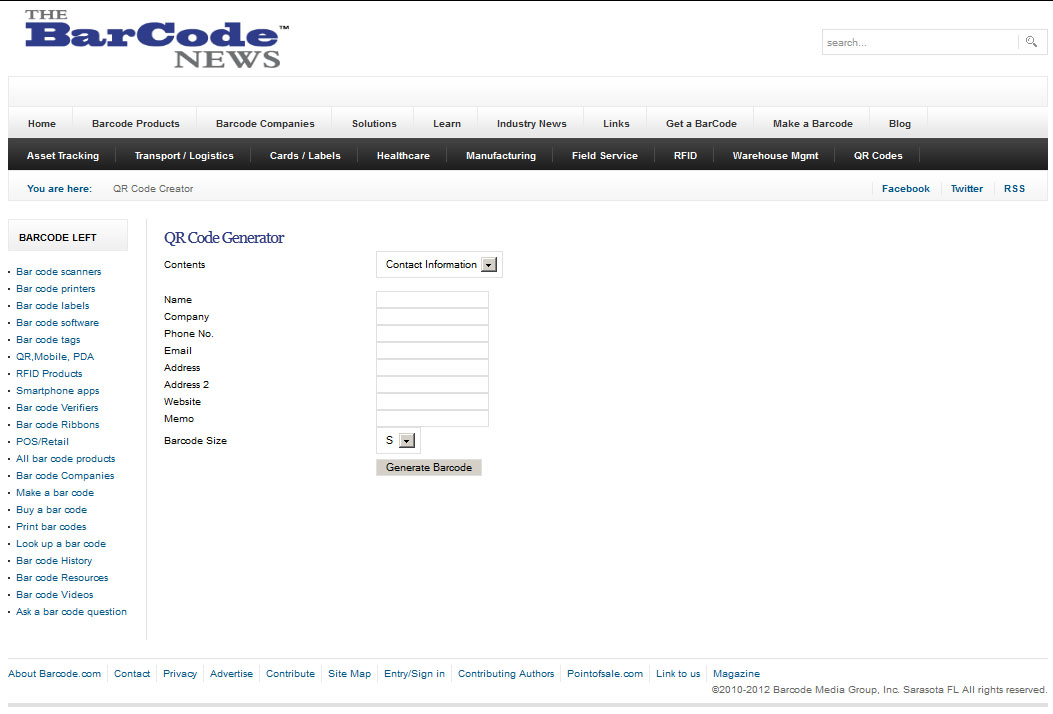
From the drop down menu you can select a variety of QR Code styles. For this example we selected Contact Information and filled out the example information for Flower Epica.
Step 5: Print!
Now that you have your door hangers designed, it’s time to print them. Since we used the BurrisBlank3upDHWordBC template for this example, we’ll be printing on Burris Printable Hangers with Perfed Circle and Detachable Card.
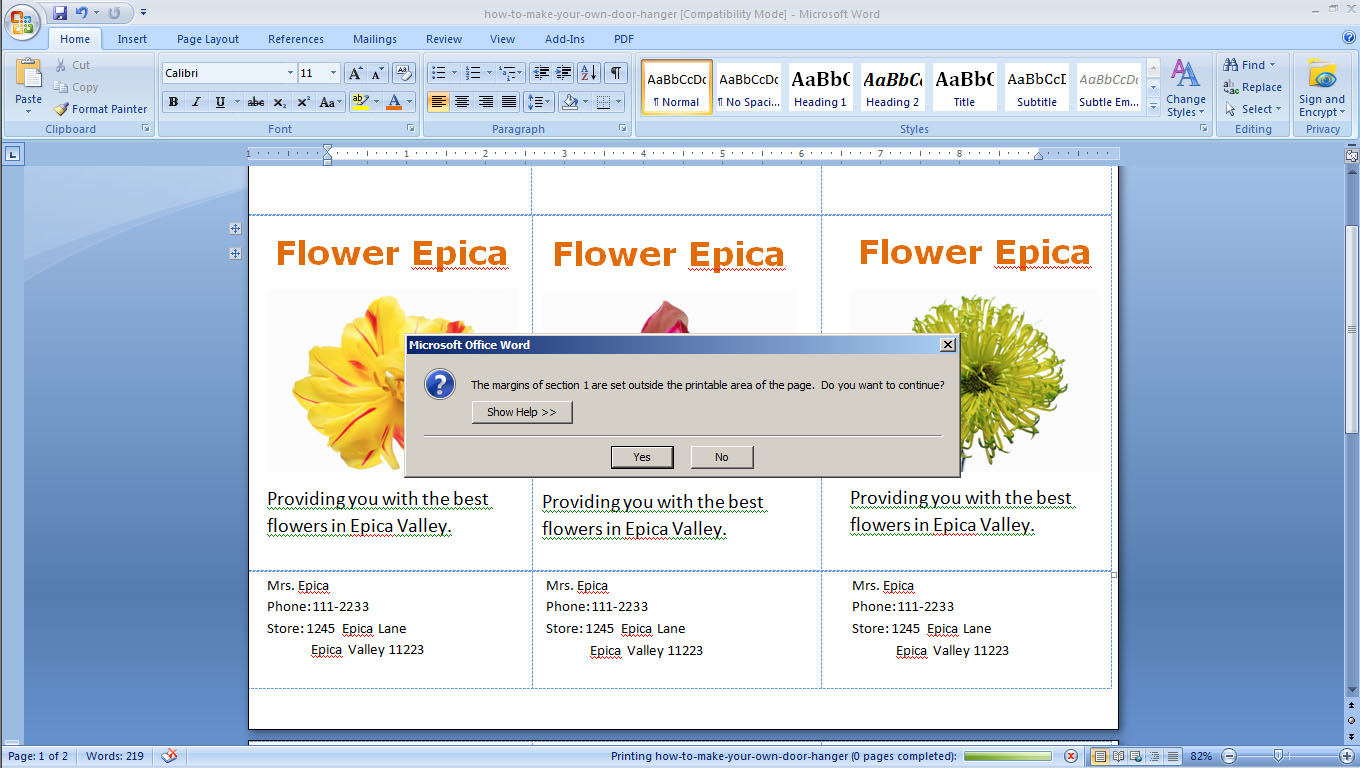
If you get the following error message (“The margins of section 1 are set outside the printable area of the page. Do you want to continue?”), select “Yes.” For some older printers this may cause an issue with pieces of your design being cut off at the edge. If this happens, move the pieces that are being cut off closer to the center.
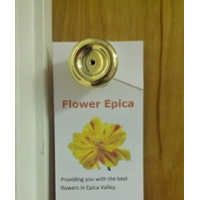
Here’s our finished piece!
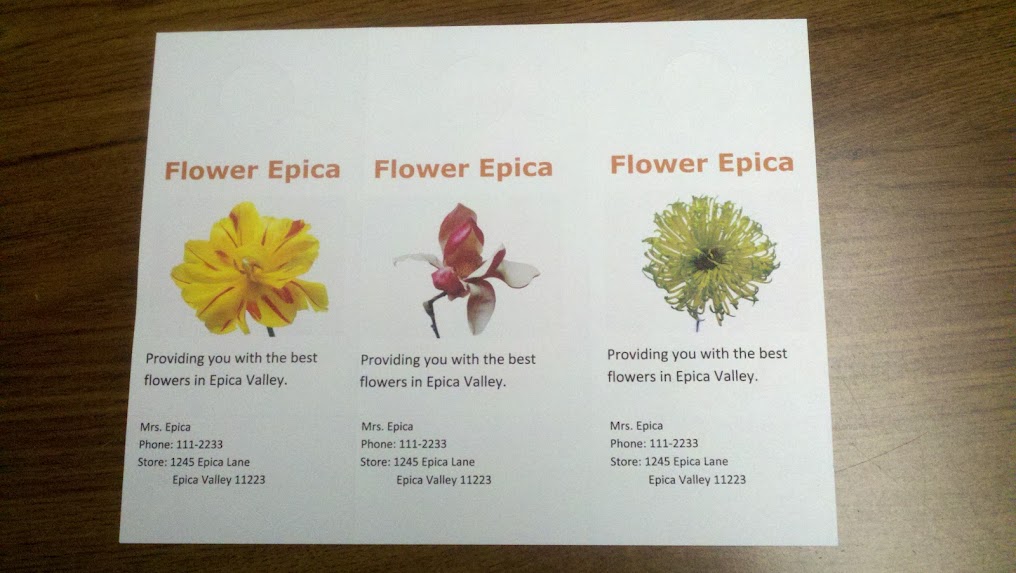

How did yours turn out?
Would you like to have a copy of our finished file?