How To Make Your Own Every Door Direct Mailers.
by Chelsea Camper | Last Updated July 19, 2019The Every Door Direct Mail™ program from the USPS® is really starting to take off, especially for small businesses! It makes targeted direct mail marketing highly affordable for small, local businesses.
One way small businesses can make EDDM™ even more affordable is for them to print their own Every Door Direct Mailers. It’s easy to do and we’ll show you how to make your own right here!
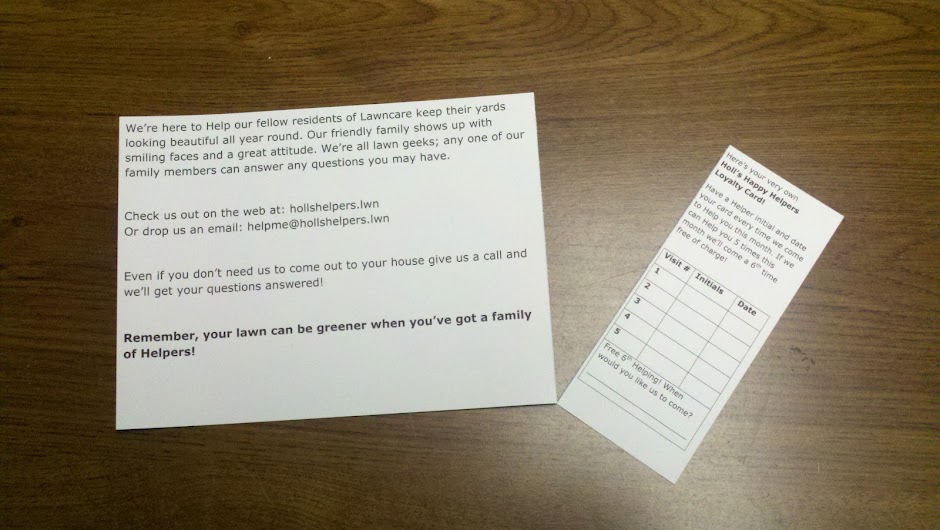
For this example we’ll be working with th e Every Door Direct Mailer 6.5×11″ Standard White with Perf. This format gives us a unique size plus a stub that we can use for a coupon, survey, loyalty card, etc. Our made up business will be “Holl’s Happy Helpers,” a small, family-owned lawn care company. We’ll also be using Microsoft Word® to create the EDDM™ this time.
Alright, let’s dig in! Remember to click on the images to enlarge them.
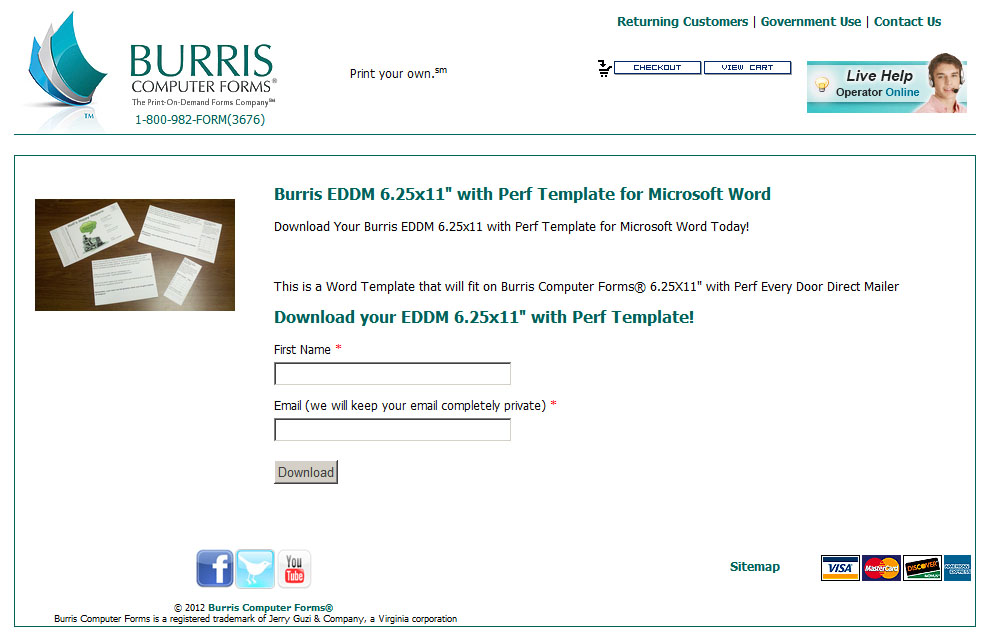
Step 1: Download the template.
Download the blank Microsoft Word® template by filling out the short form and clicking the Download button.
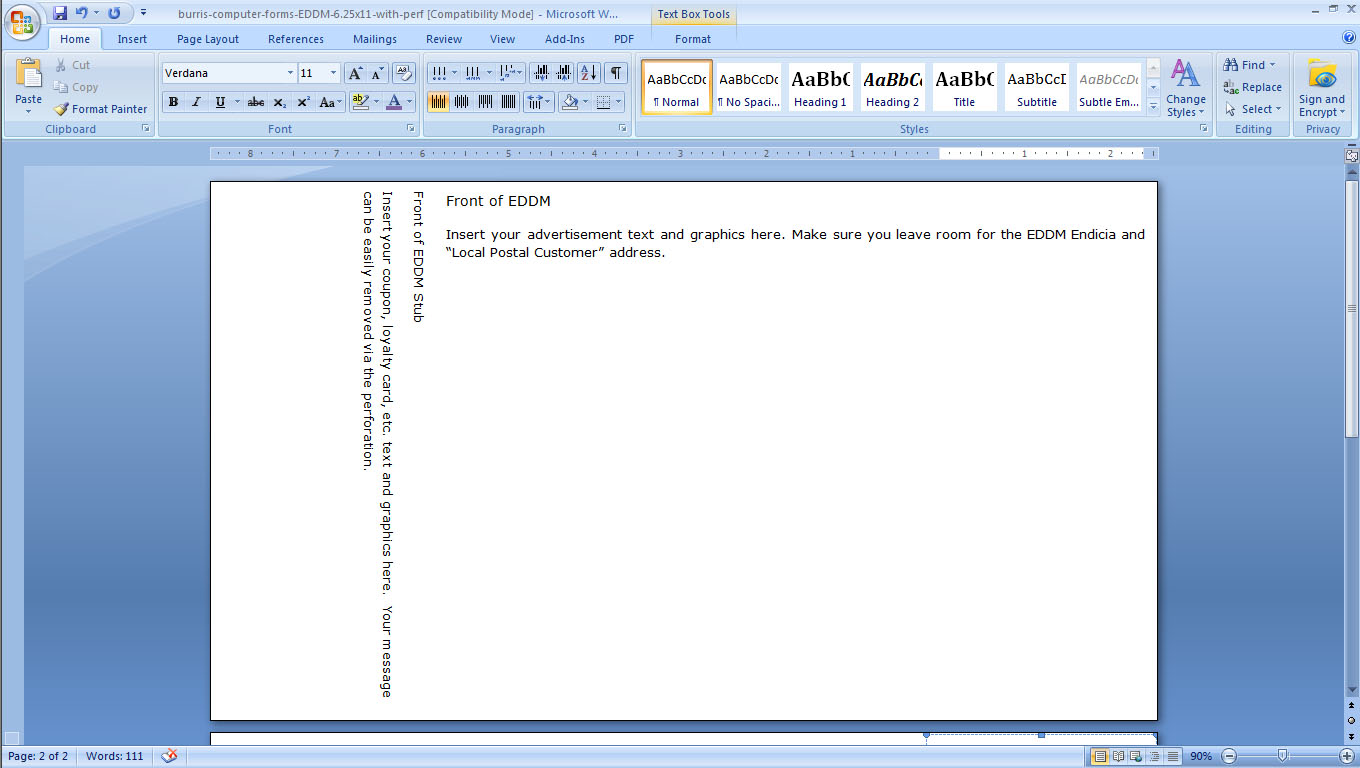
Step 2: Open the template in Microsoft Word®.
Open the template in Microsoft Word® (some may have opened automatically). Each front and back section is labeled for you. If you want the front of your Every Door Direct Mailer to have the coupon on the right instead of the left, simply use the second page as the front and the first page as the back.
Step 3: Design your Every Door Direct Mailer.
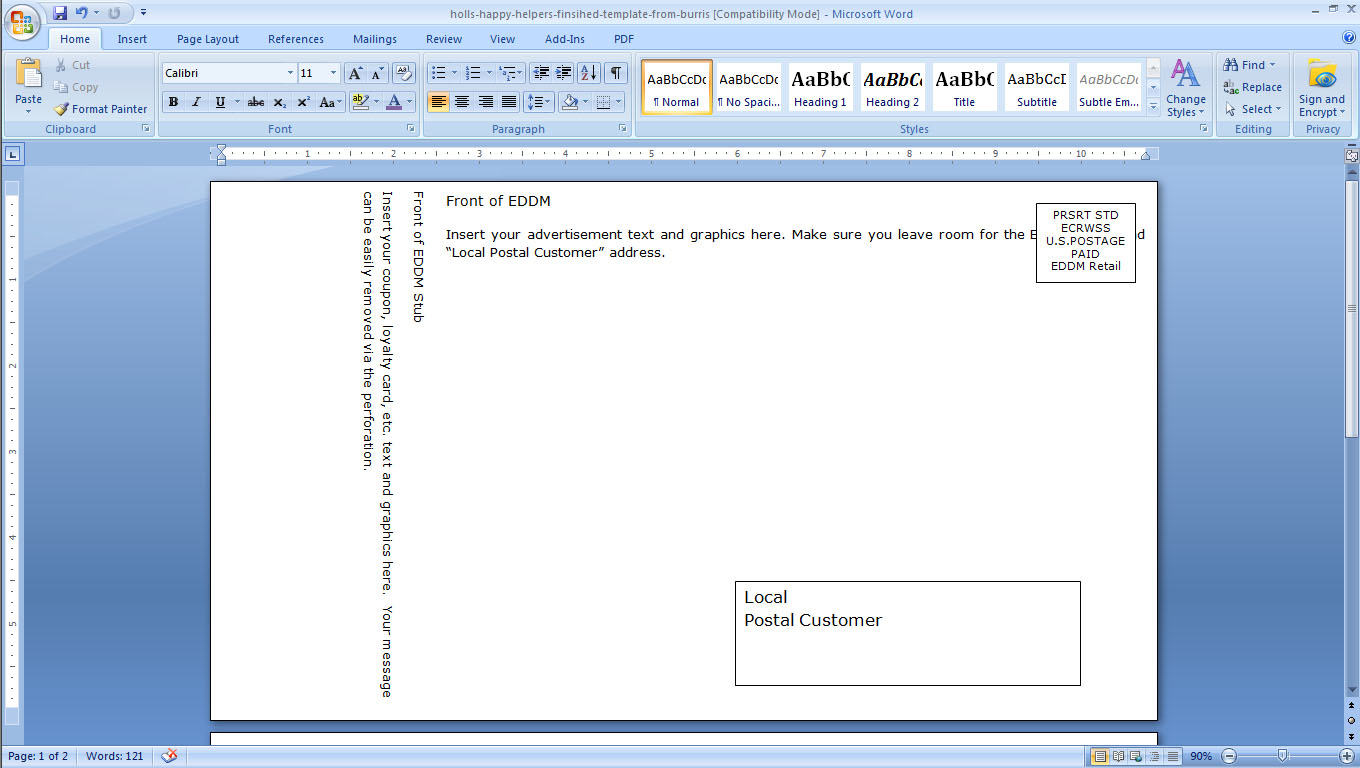
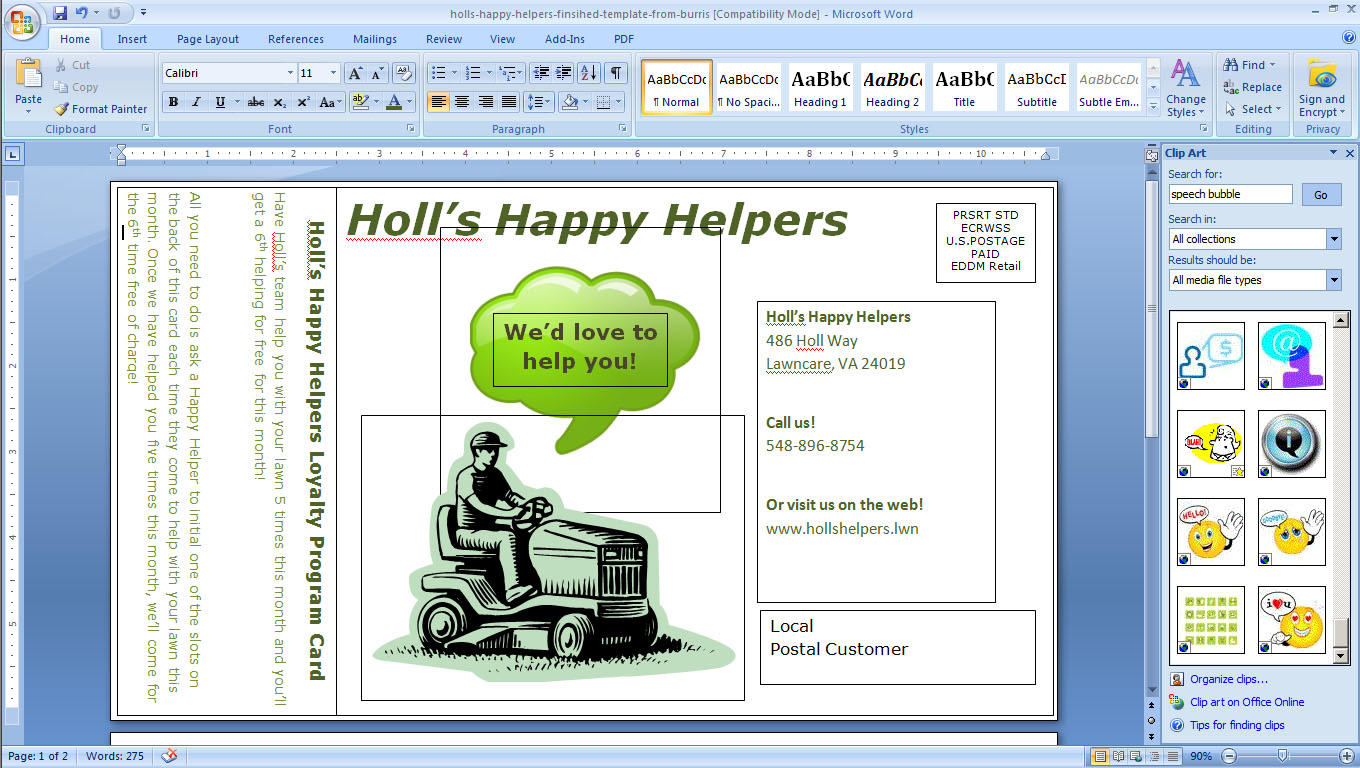
Now it’s time to let those creative juices fly! Add your body copy, images, and contact information. It’s important to remember to include the EDDM indicia and the words “Local Postal Customer” (clicking opens a PDF) on either the front or the back (they have to both be on the front or both be on the back).
To add them I make two new Text Boxes so that I can easily move them around. For now I’ll leave the black border around them so that I can see where they start and stop.
The text is turned to the side by a function called “Text Direction.” In order to rotate the text, you highlight your text (in a text box) and click “Text Direction” a couple times until you get it to the correct orientation. In Word 2007 you can find Text Direction under the Format tab in the ribbon.
In this design there are many pieces to the front side of the mailer so I used multiple text boxes to position everything perfectly. I’ve added an outline to all of the text boxes so you can see all the different boxes I used.
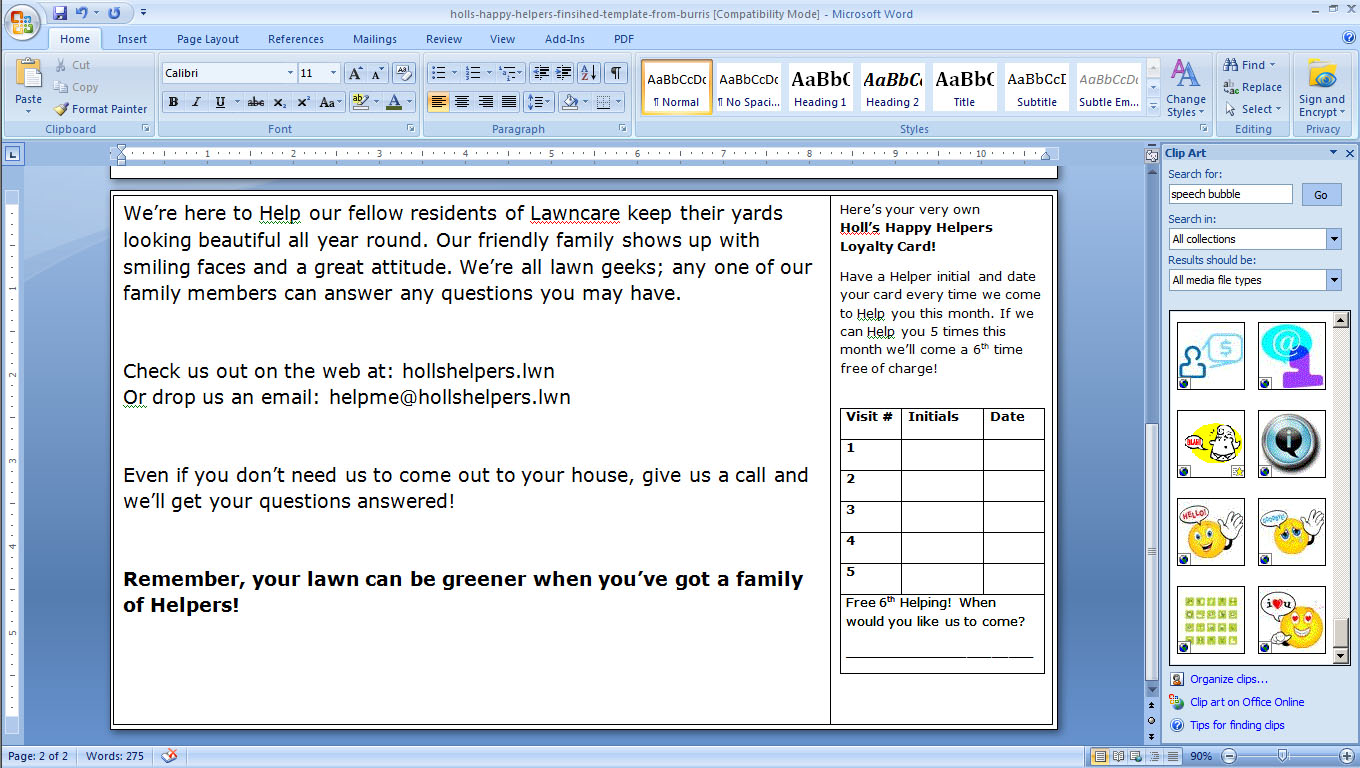
Since there weren’t many elements to the back of the mailer, I only used the two text boxes that come with the template. Again I’ve outlined them to show their boundaries.
Important Design Tip!
Before you add a full color image to your mailer think about what printer you’re using. If you’re using a laser printer with nice sized toner cartridges, then there’s probably little to worry about. However, if you’re using an Inkjet printer those full color images could run up your ink costs. Keep your colors simple. If you want a bright yellow background you can always just use yellow paper! (:

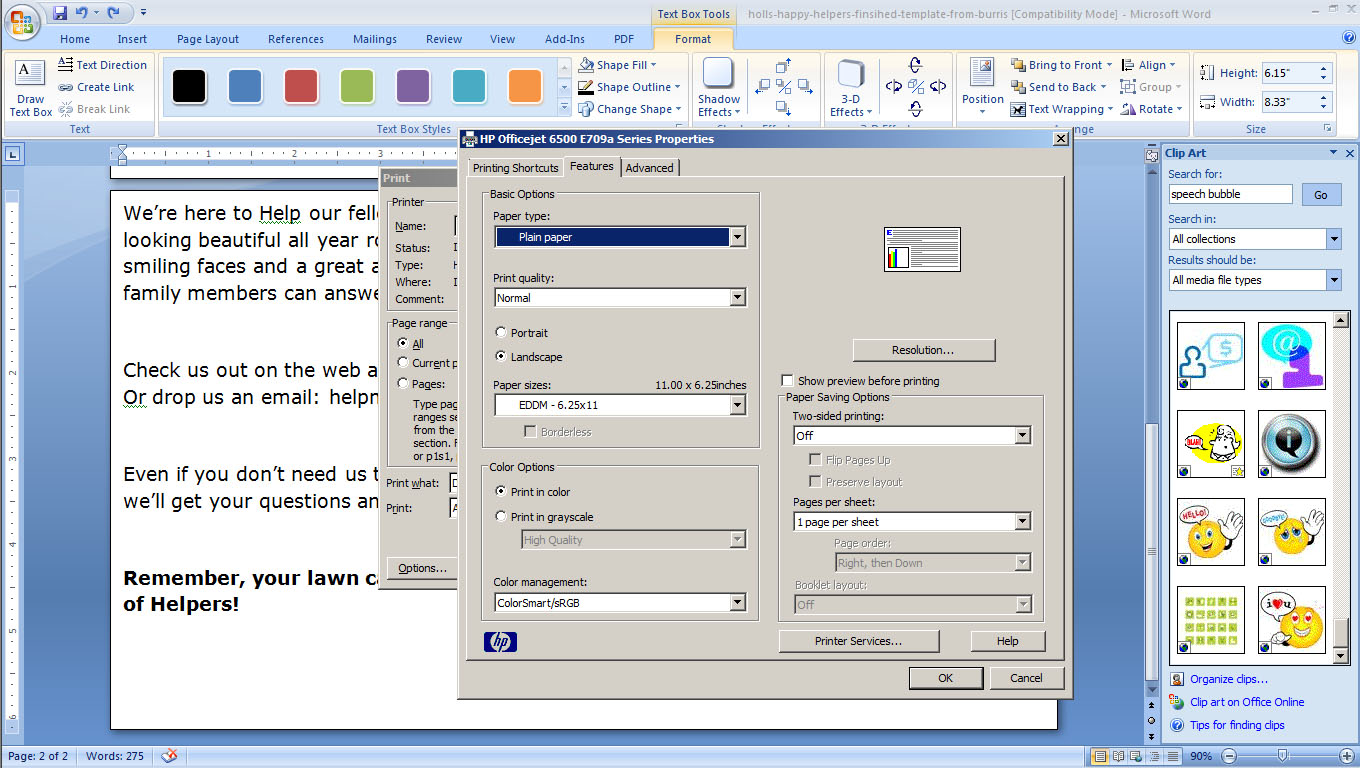
Step 4: Print!
Now it’s time to print! Yay! Before you print make sure you check out these 16 Every Door Direct Mail Tips and Tricks for some sweet printing tips.
Make sure you set your printer to print Landscape and change the paper size to 6.25×11″.
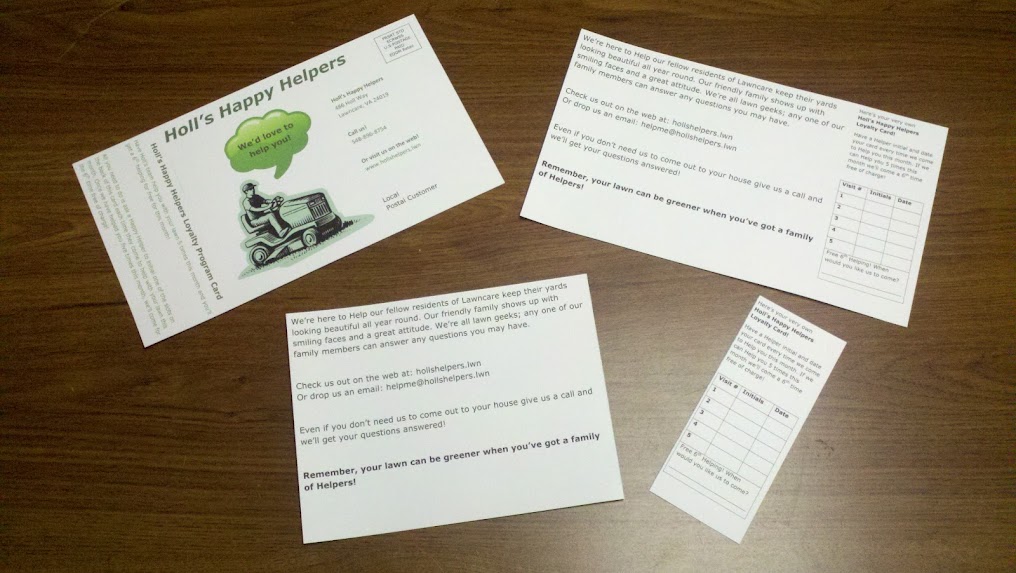
Here’s how ours turned out:
Not endorsed by, or affiliated with USPS® or Microsoft®.
EVERY DOOR DIRECT MAIL and EDDM are trademarks of the US Postal Service.
MICROSOFT WORD is a trademark of Microsoft.