How to Print Your Own Name Tag Labels.
by Chelsea Camper | Last Updated June 15, 2018When you (or your company) are hosting a large meeting, it’s helpful to be able to print your own name tag labels. By printing your own you can customize them to meet your needs, print as many or as few as you need, and it can save you some money over ordering in pre-printed name tag labels.
In this example we’ll be using this 10UP label sheet. The gaps between the labels will allow us to do a full bleed print (full bleed means to print to the very edge of the paper). These name tag labels will be for Awesome Bob’s University’s alumni reunion. There will be thousands of people there so name tags will prove quite useful, especially since everyone has changed so much in the past ten years!
Remember, you can click on the images below to enlarge them.
Let’s get started!
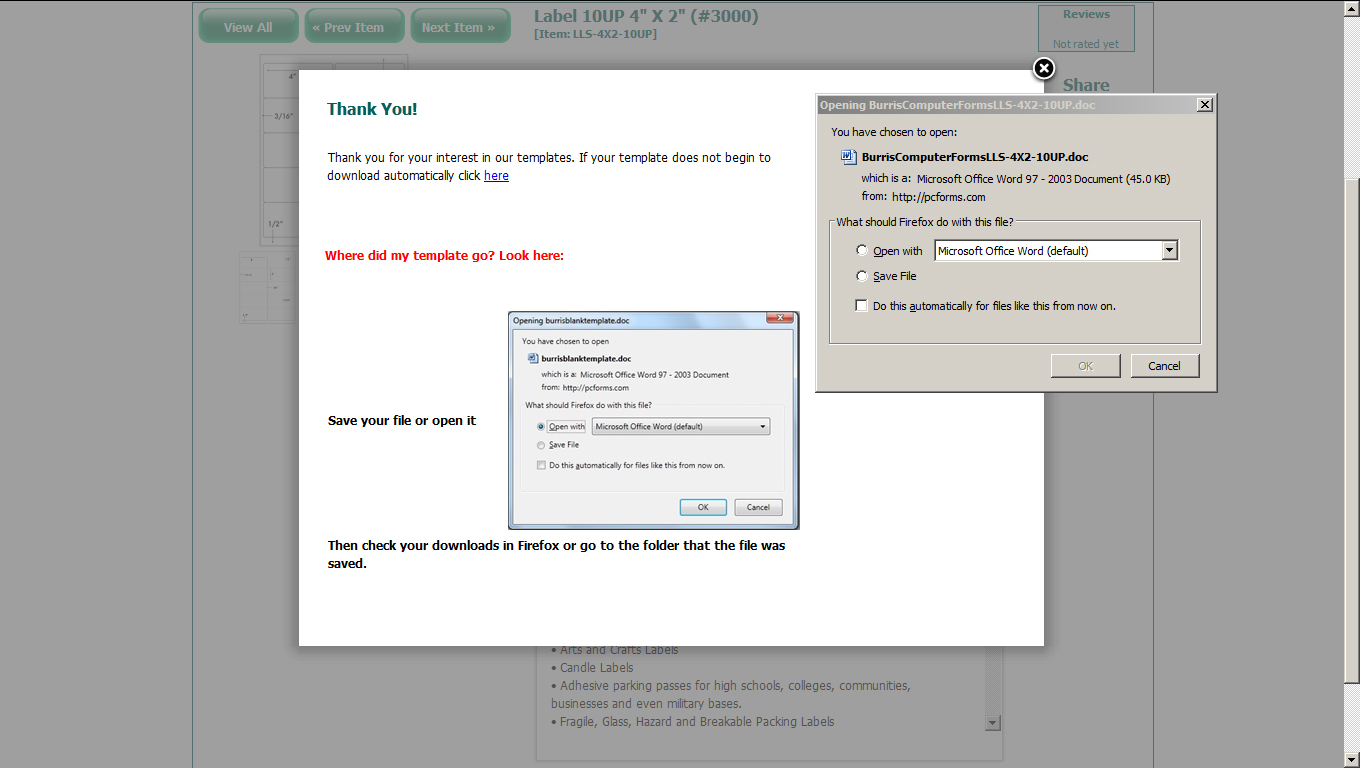
Step 1: Download the Name Tag Template
We’ll be downloading the template straight from the product page.
Step 2: Open the Name Tag Template in Microsoft Word
Open the template in Microsoft Word, some may have opened automatically.
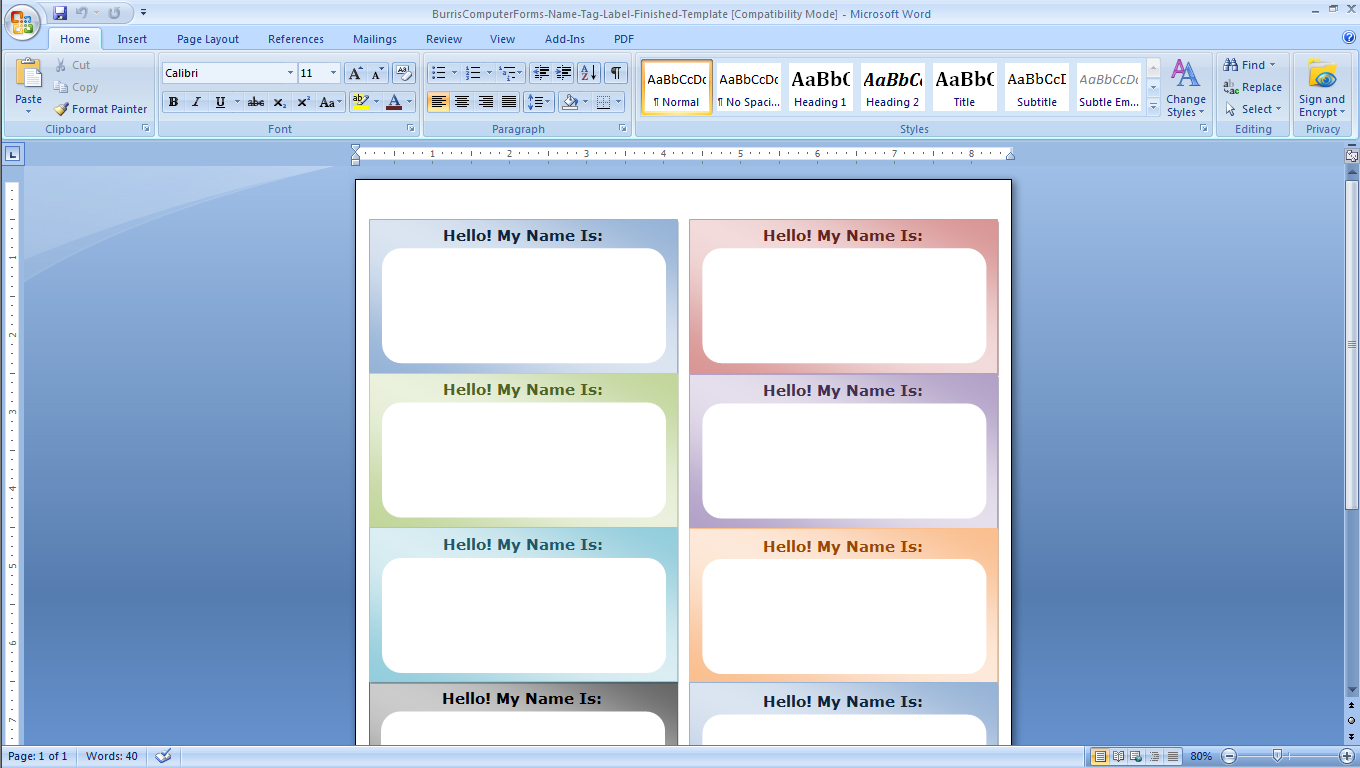
Step 3: Design!
Now it’s time to start designing your name tags. First thing to do is to get rid of the Burris logo and the text right below it. Click on the logo, hold shift, then click in the middle of the text box. Both should be selected now. Hit “Delete.”
![]()
Your template may look blank, but I assure you that it is not. Click over toward the top left, about a half inch down. You’ll see a blue lined box appear. Each label has its own text box. You can select all the text boxes and then give them an outline so that it’s easier to see them while you’re designing your labels.
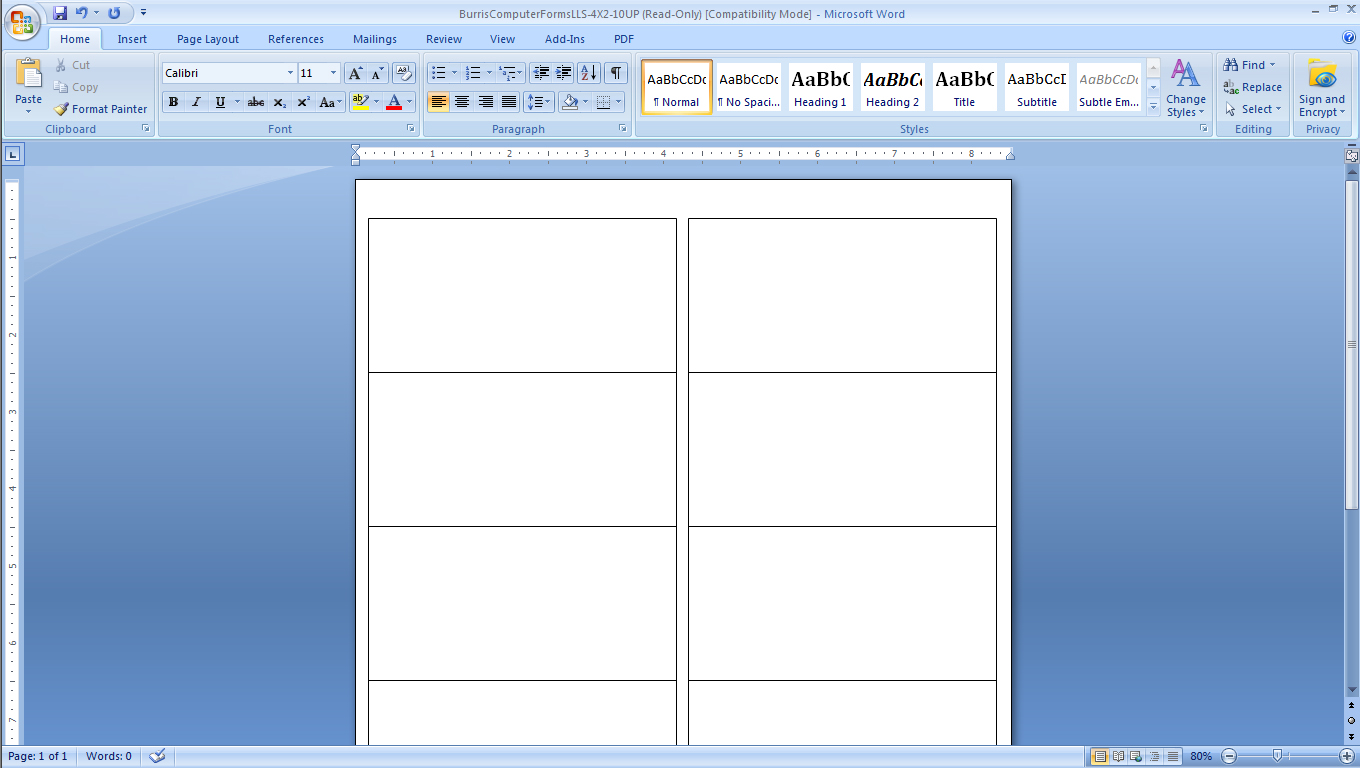
Once you’re done designing you can remove all of the text box borders.
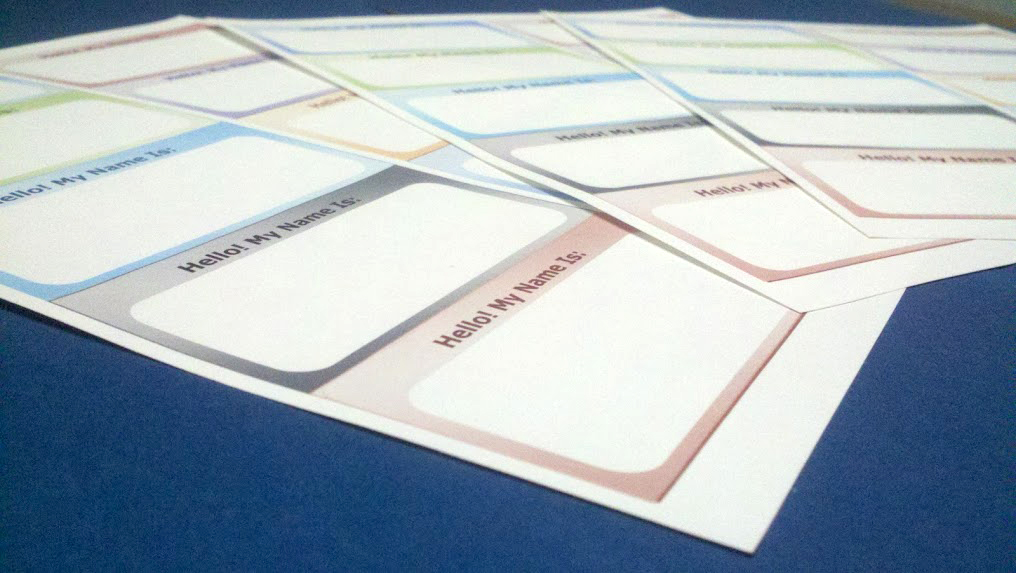
Step 4: Print Your Name Tags
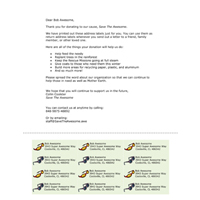
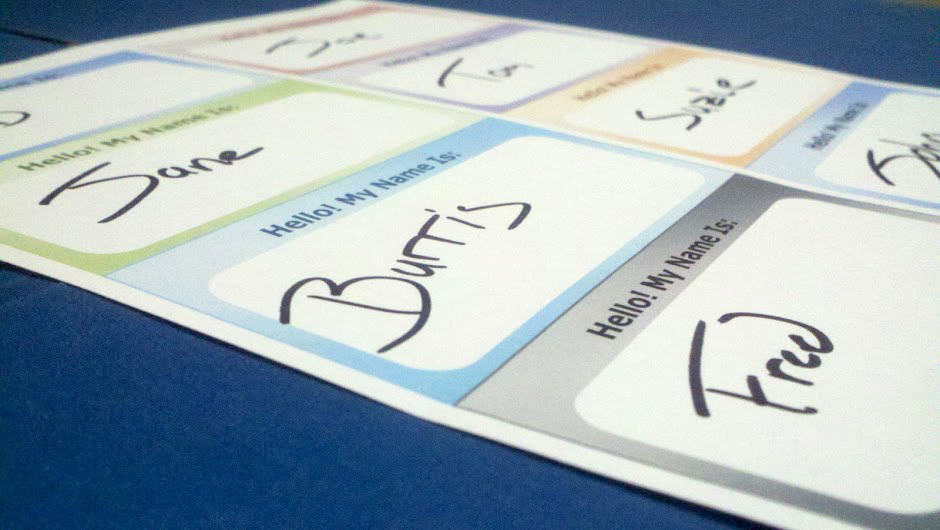
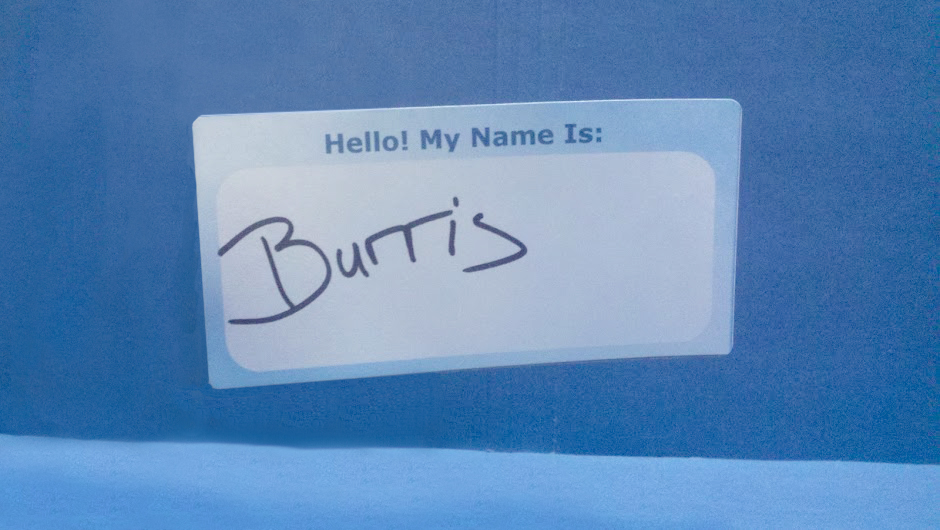
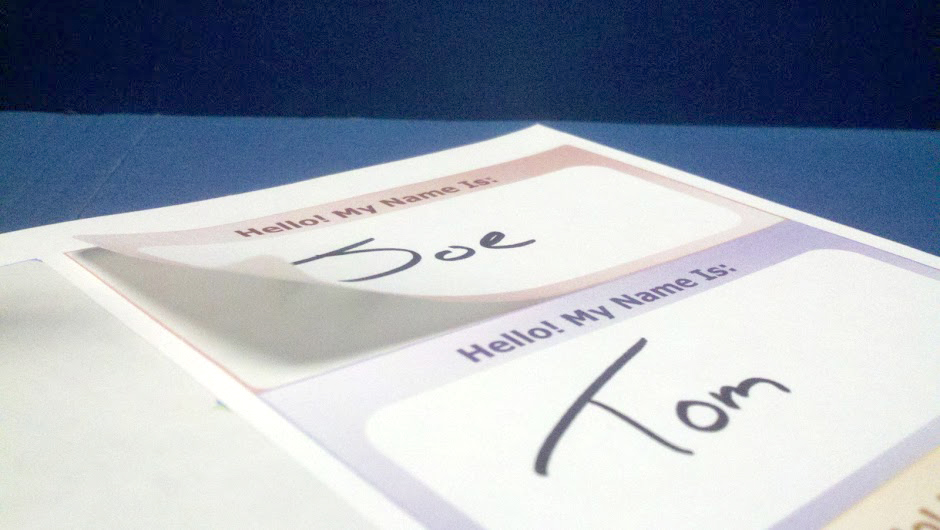
Now it’s time to print your name tags! Here’s how ours turned out, how did yours turn out?
Want the finished template created in this post? Download the Finished Name Tag Template Now!

Not affiliated or endorsed by: Microsoft Word is a registered trademark of MICROSOFT.