How To Print Your Own Postcard Mailers.
by Chelsea Camper | Last Updated August 16, 2021Direct mail can be a powerful marketing tool for any business. As new social media sites and strategies emerge, direct mail tends to be looked at as “old school” and something that shouldn’t be used. Truth is you can combine the “old school” and “new school” to create something truly amazing! Integrated marketing is a great way to reach your audience and encourage them to interact with your brand.
Today we’re going to focus on the “old school” side of things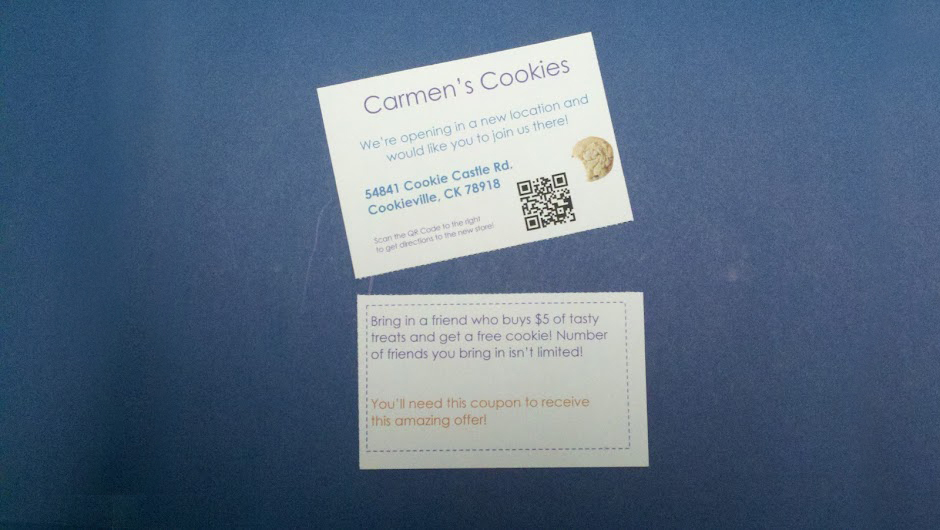 and go through the steps of creating a postcard mailer that can be used in a direct mail campaign. Below is the information we’ll be using for our example (all of the business information for Carmen’s Cookies is made up).
Company: Carmen’s Cookies
Mailer Purpose: Attract visitors to her new store opening on the other side of town
Targets: Neighborhoods near her new store and loyal customers from her current store
Form Used: 4KU-STD; four postcards on a sheet with a detachable stub
Template Used: 4KU Template
*Click on the images below to enlarge them.
1. Download the Microsoft Word® Template
Use the green Download button to the right of the template page to download the Microsoft Word® template.

2. Open the Blank Postcard Template in Microsoft Word®
Find the saved file and open the template in Microsoft Word® (some may have opened automatically).
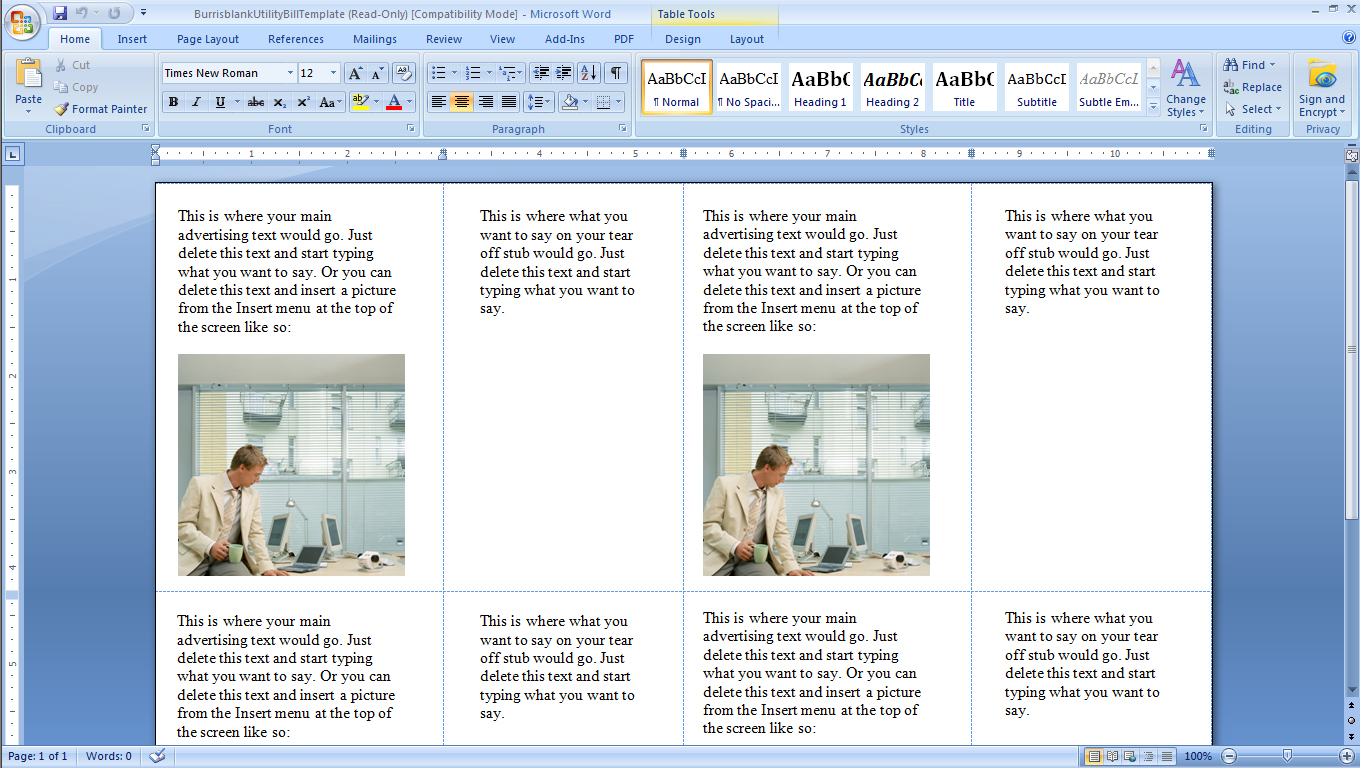
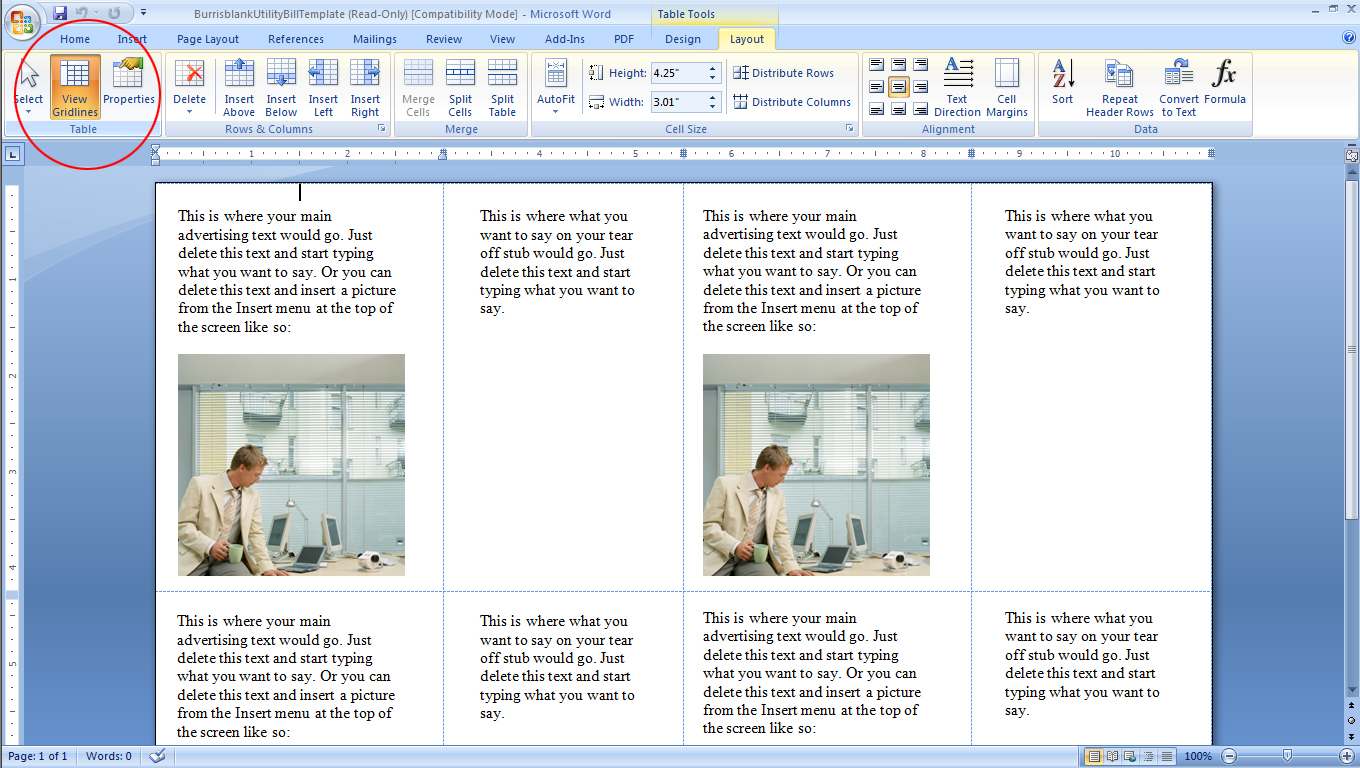
If you do not see the blue guide lines, go to Layout and turn on the Guideline view. Since this template has text boxes the guidelines are not essential.
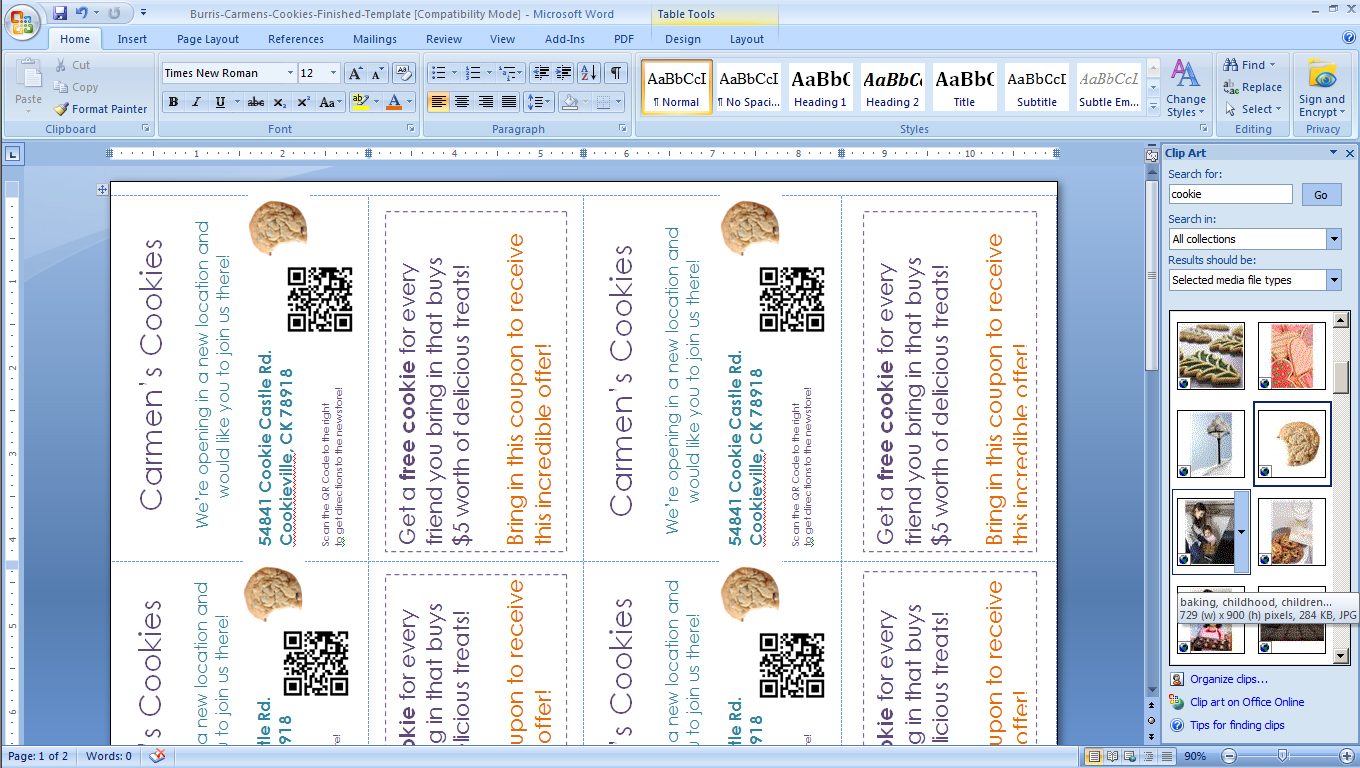
3. Time to Design Your Postcard Mailer!
For this example we’ll be using Clip Art stock; you should be using your company’s logo, colors, and images. A familiar logo will help your audience want to interact with the mailer.
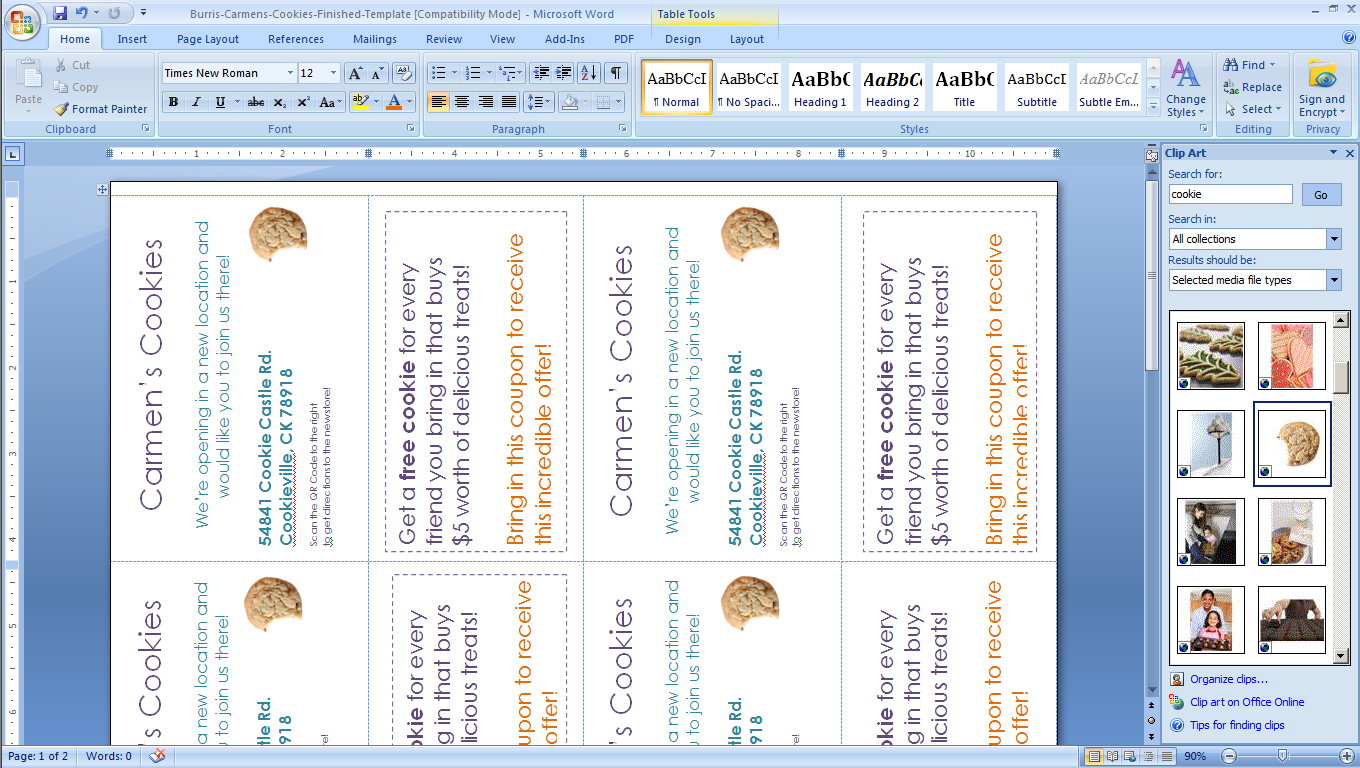
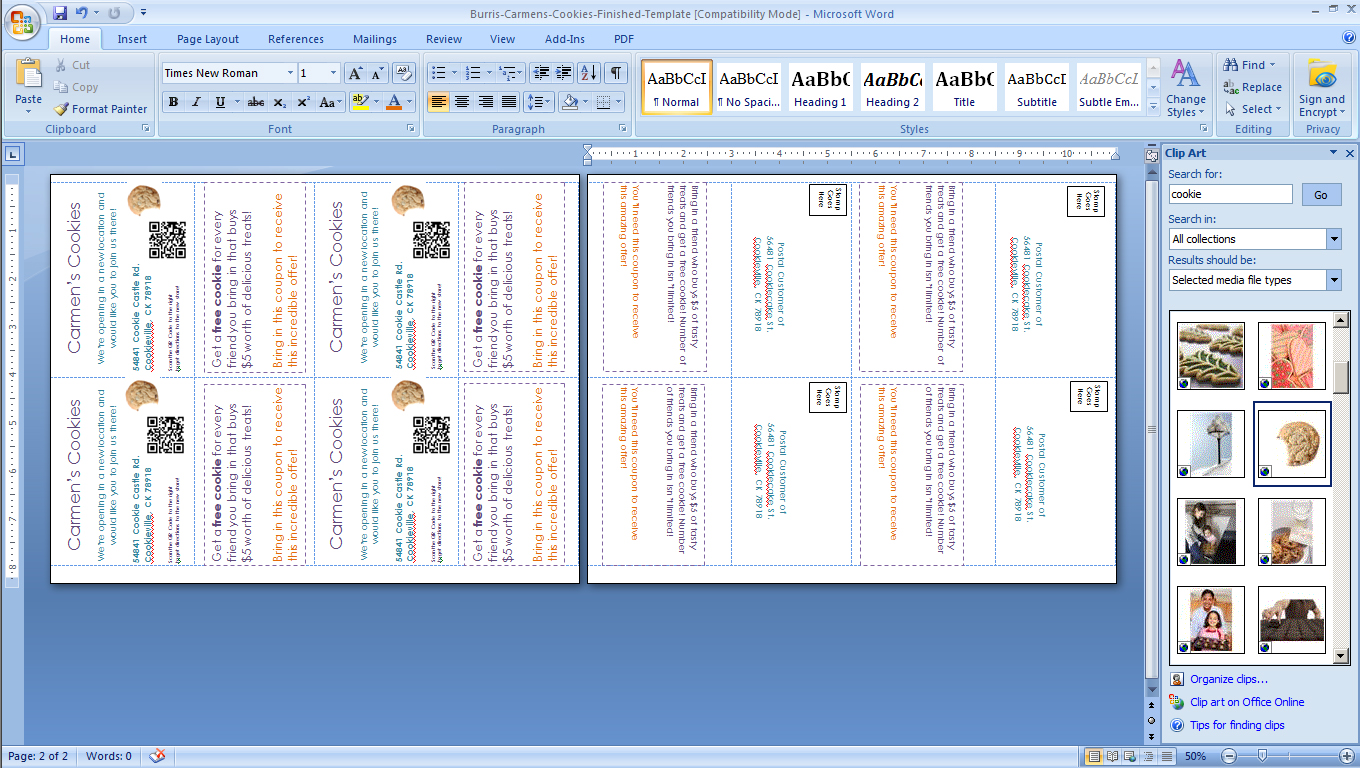
If you would like to create a back to your mailers you can add a second page to your document. *Remember: The second page will have to be designed in the opposite direction so that the front and back will line up when printed. You can skip creating a second page by downloading our finished template (link below).
Because the second page will have to be laid out in the opposite direction as the first it won’t quite match up with the guidelines.
4. {Optional} Add a QR Code
This step is optional but if your company is starting to get into marketing with QR Codes, it’s a good idea to put one on your mailer. We’ll be using the Barcode Generator on The Barcode News to create our QR Code. This QR Code will link to the White House on Google Maps for example purposes. If you were to link to your location on Google Maps for your own business, you should use your business’ address instead of the White House’s.
We’ll use the short code from Google Maps for our QR Code to make the QR Code less complicated and quicker to scan.

Next we’ll take that short code over to The Barcode News’ Barcode Generator and create a QR Code for a URL.
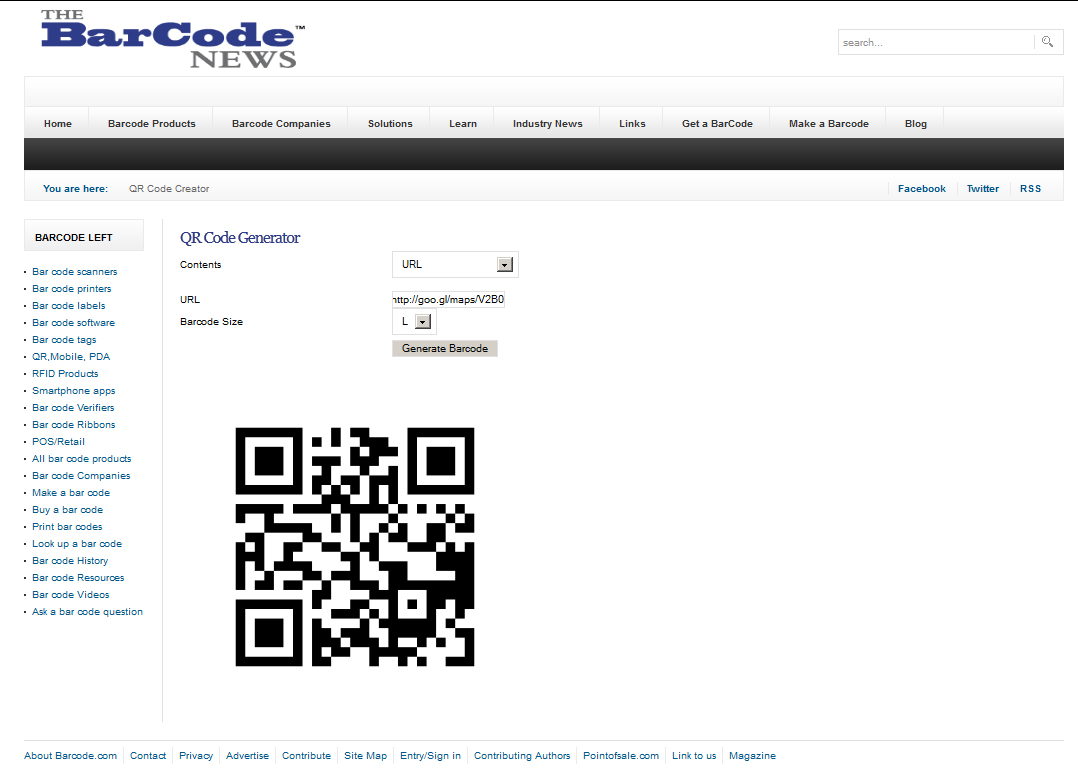
Finally we’ll incorporate the QR Code into our design with instructions on what to do with it.
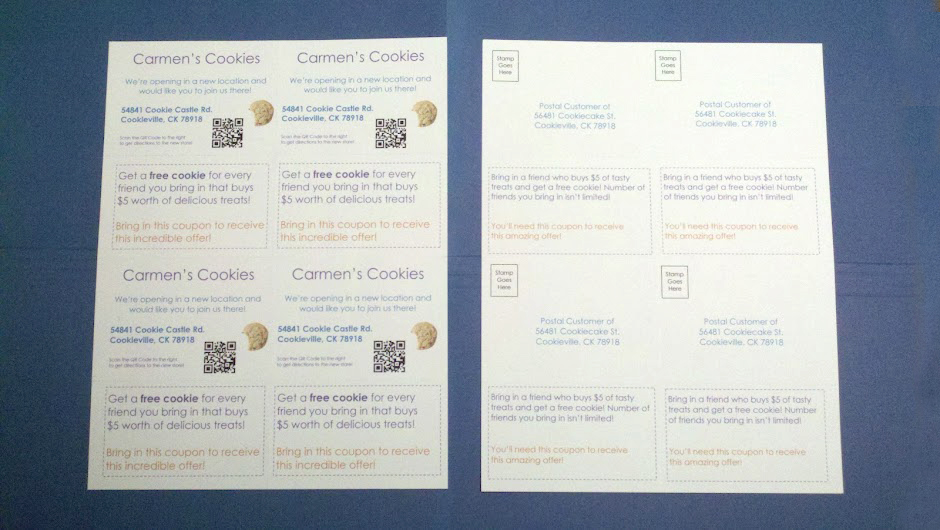
5. Time to Print Your Postcard Mailers!
Now it’s time to print! Below are some images of how ours turned out, but don’t forget to let us know how yours turned out! (:


Want to download the finished template that was created for this How To? Use the button below to find out how you can get access to the finished template!

Like the post? Don’t forget to share!


Not endorsed by, or affiliated with Microsoft Word®. Microsoft Word® and Microsoft® are trademarks of Microsoft®.