Design and print your own price tags
by Chelsea | Last Updated September 5, 2023As a small business, printing your own price tags lets you to create and modify while avoiding the hefty prices that come with special ordering. When it comes to inventory, retail products, and identification tags, customers often see the price tags first. Whether it be to price check or see the products name/company, the key is to design them simply and effectively.
With that said, let’s get started designing your tags!
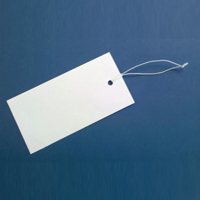
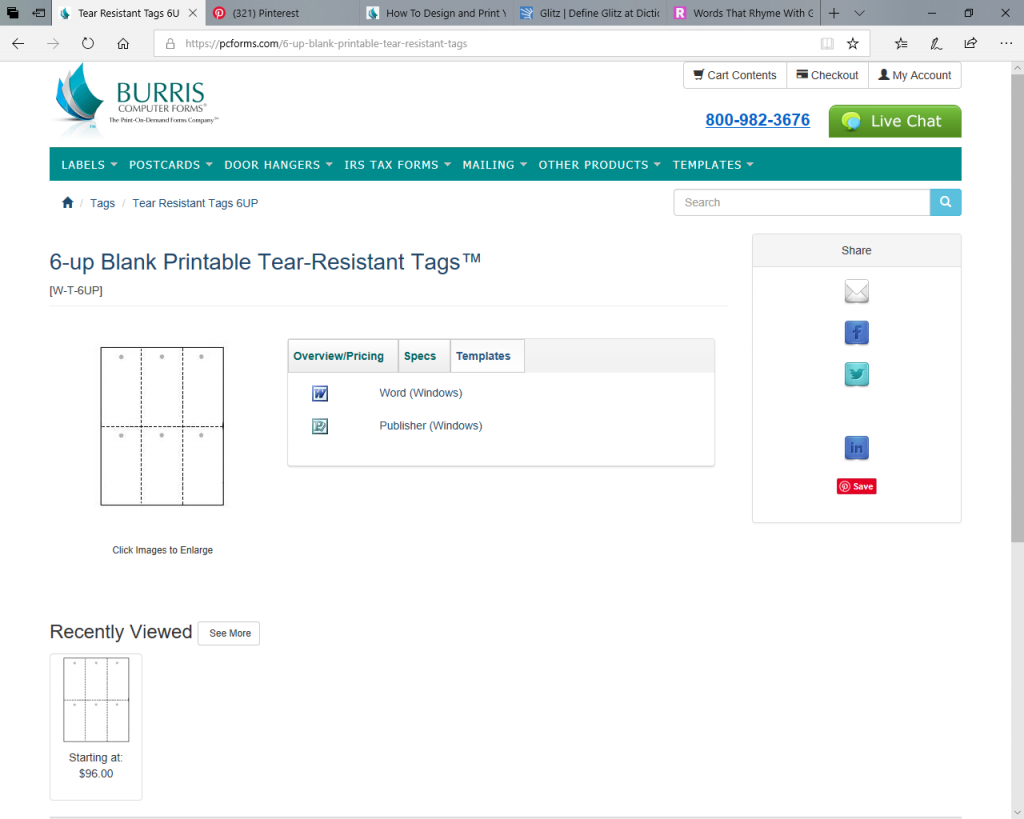
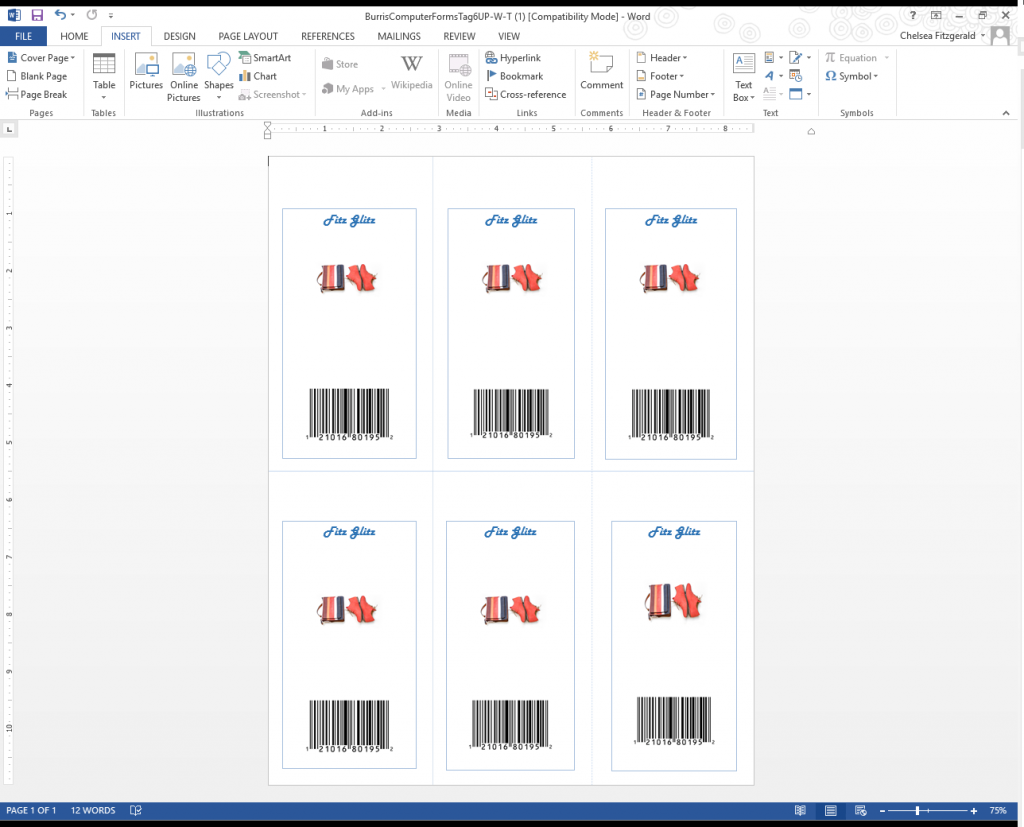
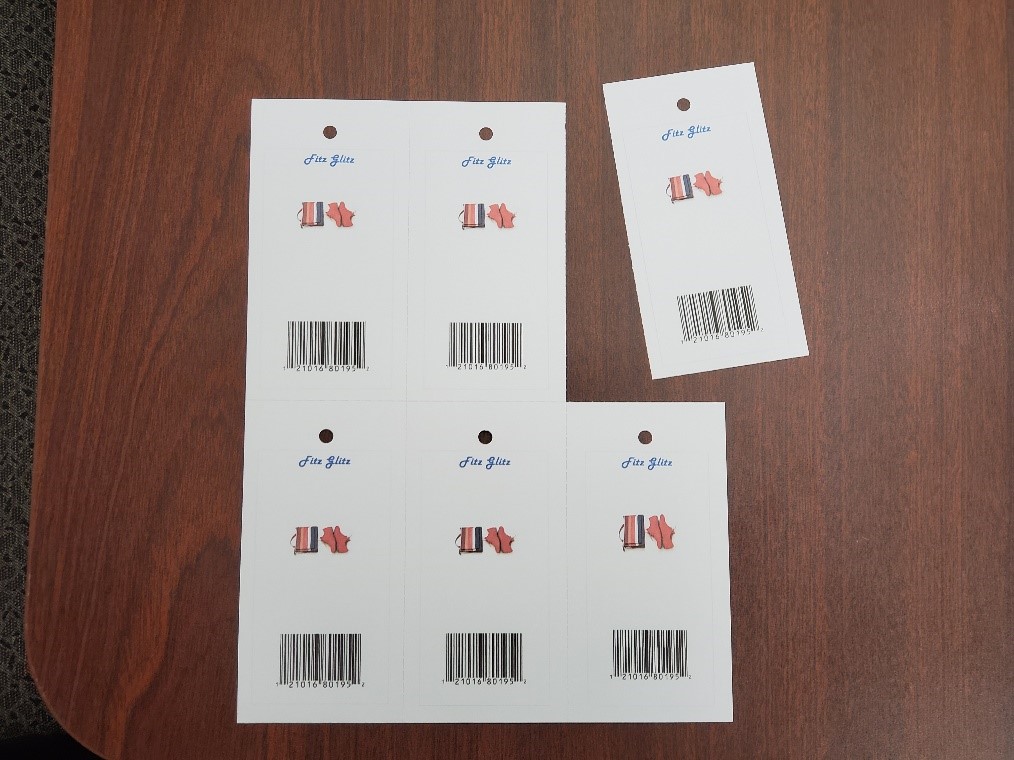
For this tutorial, we’ll use the 6-up Blank Printable Tear-Resistant Tags with its matching tag template for Microsoft Word®. Our example company is a fabricated company called Fitz Glitz, a small retail clothing store that sells fashion products. This “store” offers a variety of different brands, but wants their customers to see their name and logo when looking for a price tag.
1) Download the Template
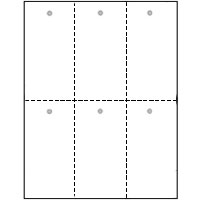
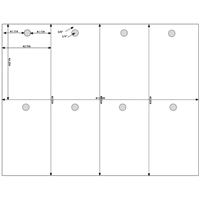
To begin designing our tags, first download the tag template, which is found under the Templates tab on the product page.
2) Open the Template
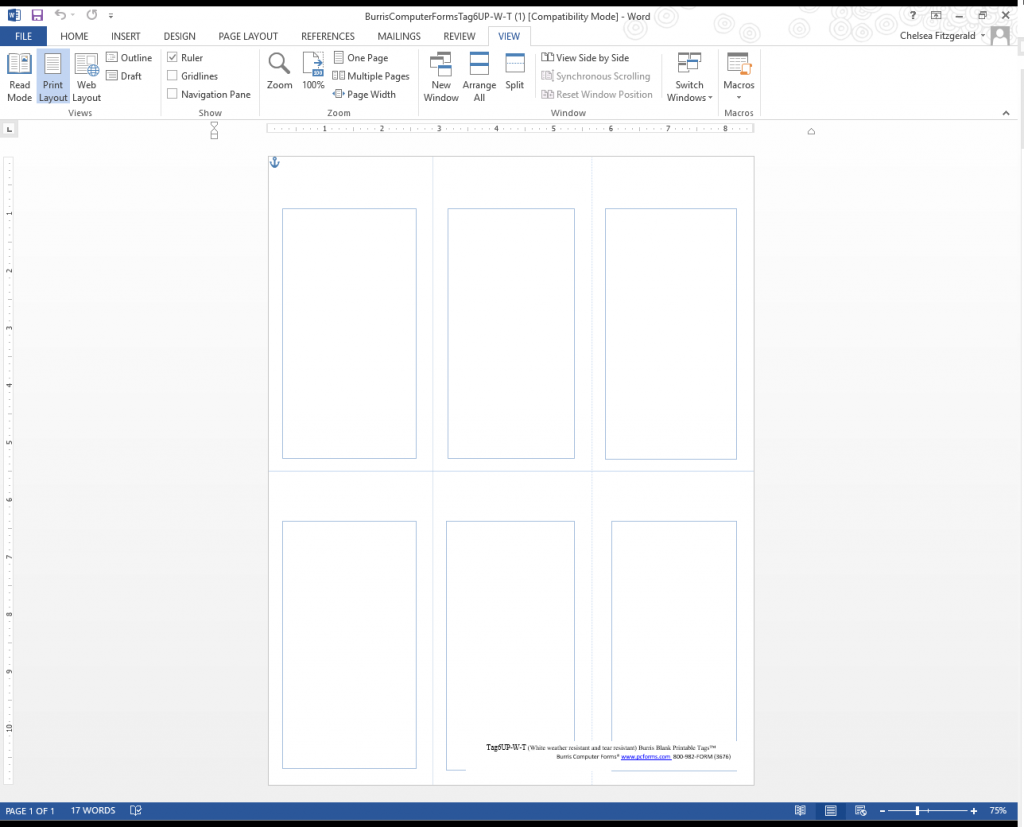
Next, open the template in Microsoft Word®. It may ask you at the bottom of your screen to click the Open button, or it may open automatically. After your template opens, click “Enable Editing” to begin designing your tag.
3) Design your Tags
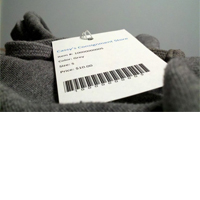
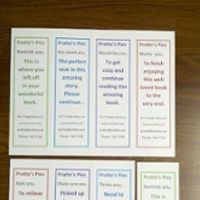
Now it’s time for the fun part… designing your tags! Make sure to include your item number/barcode and logo to make the checkout experience more efficient, while also showing your brand name proudly hanging from the products they want!
4) Printing
All that’s left now is to print your tags! Here’s how our example turned out. If you’d like to send us your feedback, comments, or if you have any questions at all, please contact us.
Thank you for reading our blog on how to design and print your own tags. If you’re interested in creating your own tags using our specifically designed free templates, check out our related products below!
This article was originally posted March 25, 2019.