How to Mail Merge with Microsoft Word 2016
by Chelsea | Last Updated January 5, 2024Mail Merge is a great time saver if you need to create documents that are mostly the same but unique in some way. For example, name tags for an event or envelopes with each person’s name and address.
Today, we’re creating a fictional postcard for customers offering a 10% discount on their next order using Burris Computer Forms Four of a Kind postcard sheets. We will be customizing each postcard with the customer’s information we have stored in a separate Excel spreadsheet. Below is an example of how we have that spreadsheet laid out.

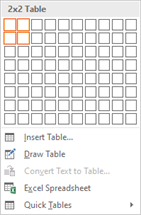
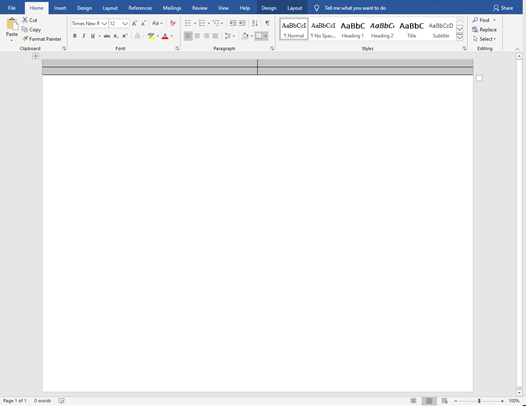
To begin, first we will create our postcards in the Word document. After opening a new document, let’s go to Insert > click on the arrow below Table > and then create a 2X2 table like below.
Create Accurate Dimensions
Now we need to get our dimensions accurate. To do that, we’ll start with highlighting our created tables and right clicking anywhere in the highlighted area.
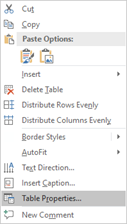
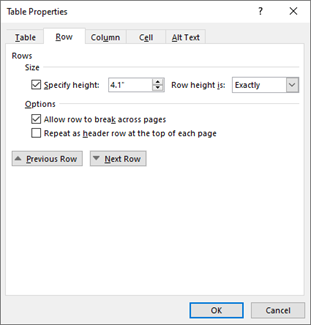
After right clicking, the next step is to select Table Properties. Select the Row tab and click the box beside Specify height. Type in 4.1” and select the Exactly option in the drop-down menu.
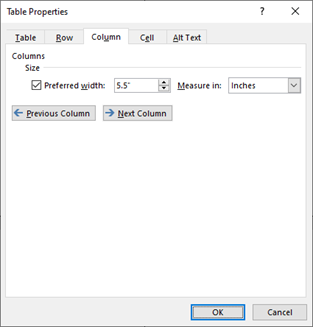
While in table properties, we’re going to select the Column tab and enter our preferred width which is 5.5”.
Start Mail Merge
Now that we have our postcard grid lined up, let’s start our Mail Merge!
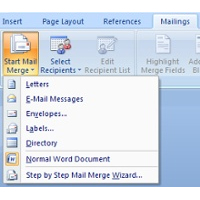
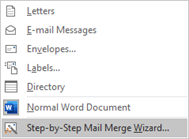
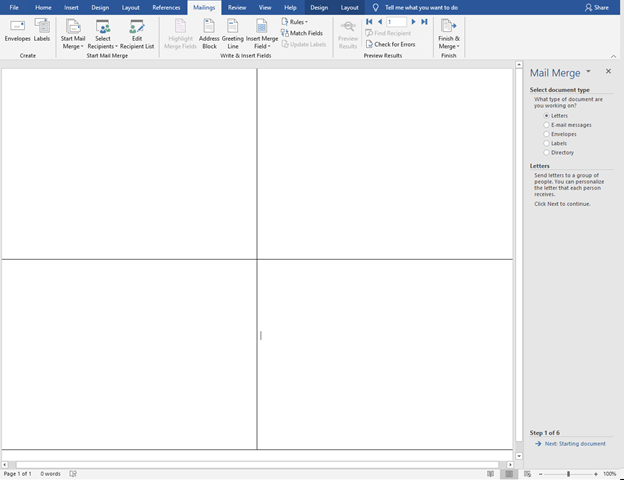
To begin, first we will go to the Mailings tab, then click Start Mail Merge and select Step-by-Step Mail Merge Wizard.

This will walk us through the process one step at a time using the Mail Merge tool pane on the right. The type of document we’re creating today is in a letter format, so let’s continue on by clicking Next in the bottom right hand corner.
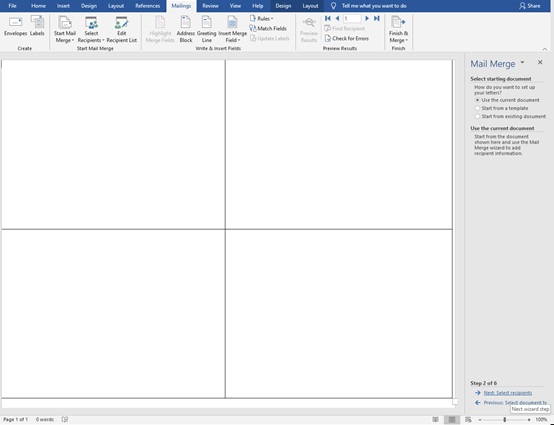
Since we have our Four of a Kind postcards ready to personalize, we will stick with the Use the current document option and click Next: Select Recipients.
Upload spreadsheet to Word
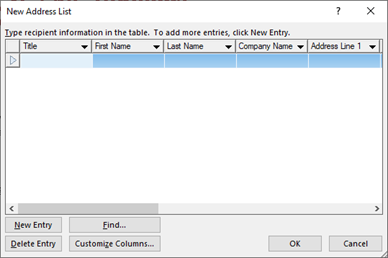
The next step in the Mail Merge process is to upload our spreadsheet so that Word can create a copy of each postcard for each customer. If you don’t already have a separate document with the needed information, you can click Create to enter your recipients individually. Below is an example of how that would look.
As mentioned above we already have our customer’s information stored separately, so we can select Use an existing list. Then we will need to select Browse to upload our spreadsheet.
Now we need to click Open and select the worksheet that contains the list. For our example, we know that our list is in Sheet 1, so we simply have to select our option and then hit Ok.

When creating your own Mail Merge, you can uncheck any contacts that you don’t want to include. For this demonstration, we’re going to select all of our customers so we can go ahead and click Ok.
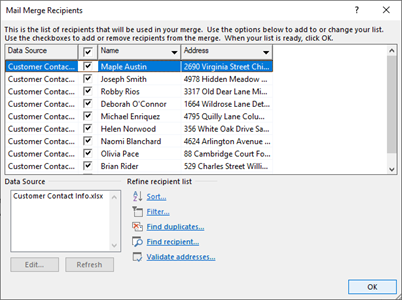
After completing the upload, we can now see our Customer Contact Info listed. Next step, creating our postcards!
Create the postcards
Here we can add something unique to each postcard for example their address, a personal greeting, and more. What we’re going to do first is add the First Name, then the Last Name, Street Address, City, State, and Zip code to the page clicking the More Items… option in our Mail Merge pane.
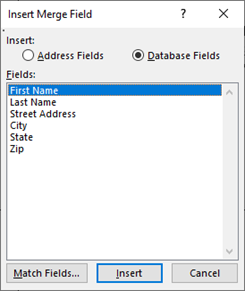
For each individual field, select where they should go. It should look something like pictured below.

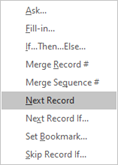
Since we don’t need 4 postcards per customer, we’ll need to add a Rule to our mail merge to prevent duplications. To do this, we’re going to place the Rule of “Next Record” before the <<First_Name>> on the 2nd, 3rd, and 4th postcard (the 1st postcard doesn’t need this since it doesn’t have an address before it to duplicate.)
Create a Rule
To create our Rule, under the Mailings tab you’ll see the Rules option. Click that and then the Next Record option from the drop down.

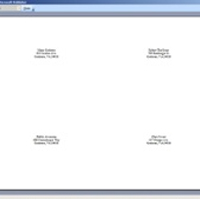
After applying the Next Record Rule, your postcards should look like below.

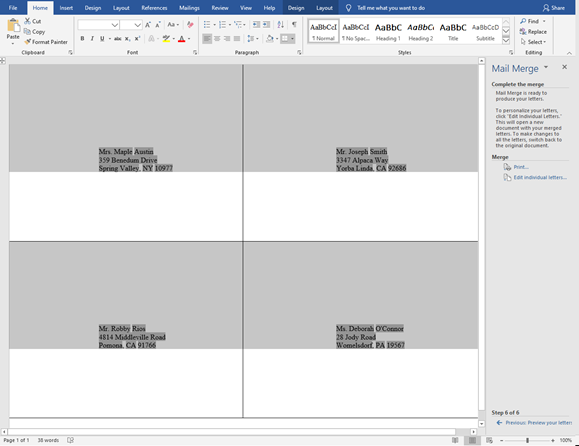
Let’s preview the front side of our postcards! To do this, click on Next: Preview your letters at the bottom of the Mail Merge pane.
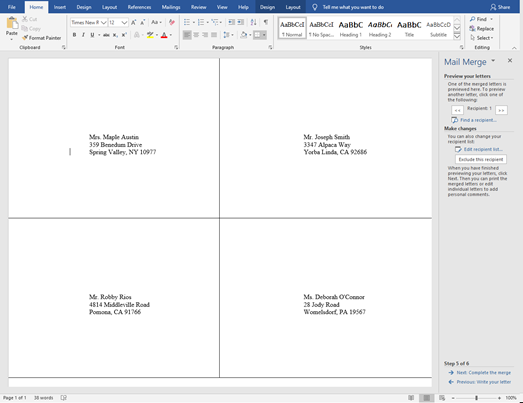
While looking at the completed letter, we’re just going to confirm the information from our list appears the way it should. We can take a look at each sheet by scrolling through the Recipient’s arrows below Preview your letters.
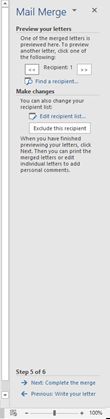
Everything looks great so let’s click Next: Complete the merge! If you click the Print command, Mail Merge will ask you which pages to print before sending you to the final step. We want to print every postcard for our Customer list, so we can leave the automatically selected option of All.
Adjust the print settings
Now all that’s left is to adjust the print settings (if needed,) then click Ok. The only adjusts we need to make are to get rid of our borders (the lines we created to give the dimensions of our postcards.) To do that, select all of the table we created then right click.
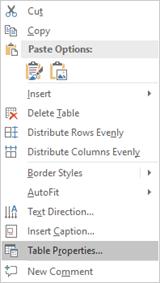
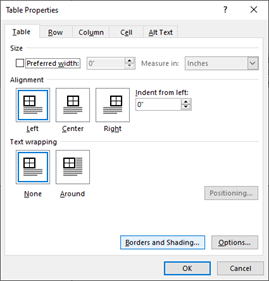
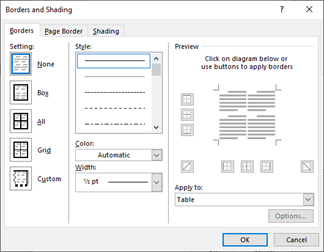
After right clicking, select Table Properties then click on Borders and Shading… The last step is to pick the None option under Styles, then hit Ok.
Now we’re ready to Print!
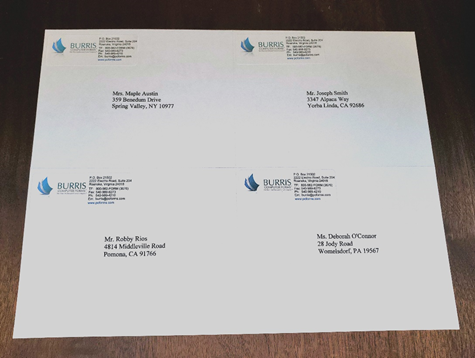
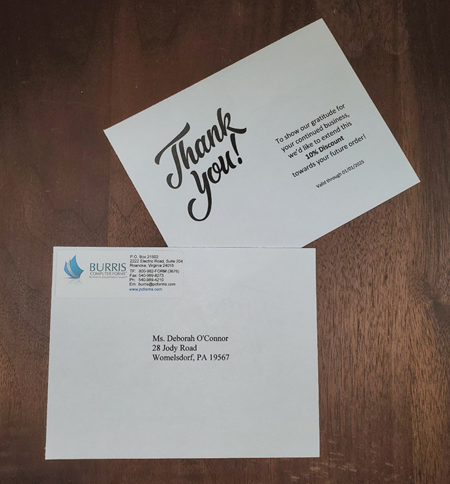
For the back side of these Four of a Kind postcards, I just made a simple design using text in our already created tables and printed it to the back-side of our addresses.
The end result…
What we’re left with is a professional, clean cut postcard that is sure to make customers happy! Check out the finished example below!
Knowing how to use mail merge is a must for creating multiple labels, envelopes, letters, and more. The possibilities, along with the time and energy you’ll save, are practically endless!
Looking for postcard paper with four postcards per sheet?

If you have any questions don’t hesitate to let us know!
Not endorsed or affiliated with any of the following: Microsoft Word® and Microsoft Excel® are registered trademarks of Microsoft.
Publish date: January 3, 2020. Update: September 7, 2023.